1
posts
2
I made this small bud vase because I thought it would be easy and useful. Wrong on both counts lol.
I was practicing pinch pots and closed forms, and tested out some glaze combos. I learned a lot about geometry and balance, but from a practical point of view. Rest assured my artistic technique is still quite lacking.
The placement of the openings not only spread the stems out too far, but they are also pointing at a curved surface, which means the buds cannot stand upright. They all splay in opposite directions.
I fixed it with a bit of twist tie forming a ring around the stems.
Flowers are nice though. Zinnia and snap dragons grown from seed, plus some wild daisies.


3
4
Don't mindlessly fidget with this scoring tool in your pocket... I didn't realize the case wasn't solid lol
I now have a few new holes in my hand.

5
6
I have some family visiting this weekend, and I wanted to take the opportunity to send them home with things rather than risking mailing items to them.
The first is a set for a relative who has recently gotten into painting. I am so happy for her and want to show my support. I made a palette in the style that seems to be popular these days, even if it seems impractical to me 😅.
Next time I will try the more traditional shallow wells, but a few test pieces in that style felt wrong and I ended up recycling them.

I'm realizing it's really foolish to put off getting some powdered glazes for items like this. It's clearly not food safe but that's okay lol.
I also made a cup for water with divots to rest a brush on. I like the way the design turned out. I was going for Mediterranean blue and white country pottery vibes with the set.

The next set is extremely disjointed but it was an attempt at a partial sushi serving set for another relative who has started making sushi at home. I wanted to include plates but I greatly over estimated my capacity. I will try and get them done before the next visitor comes in two months. Even that might be a stretch lol.
The set includes:
- two tea cups (I made another matching set of two but they are HIDEOUS)
- what was supposed to be 4 soy sauce bowls but that I didn't give enough of a depression to, so they can hold wasabi or ginger lol
- set of four totally off theme but cute chop stick rests.


My main lesson learned is that I would like to do some test tiles to refine the glazing technique on the tea cups. The underglaze I used is extremely opaque, but when I mixed it with a white of a different brand to lighten it a bit the brush strokes were more visible (and chaotic) than I wanted.
Clays are all tuckers cone 6 stone ware, a mix of mid white (grogged) for the palette and sushi accessories and either straight up mid smooth stone speckled or whatever my recycle is rn (a mix of all their mid smooth white/stone clays lol).
Underglazes are kiwi and spectrum, and the glaze is spectrum zinc free and mid fire white. Underglaze was applied to greenware.
Bisqued at a slow cone 06 and glazed at medium cone 6, but witness cones show it exceeding cone 6.

(L to R: 7, 6, 5)

7
It's sparsely loaded because I've got family visiting next week so somehow I will get this all glazed, fired, and cooled before Sunday 🤡

8
This isn't quite the plant I envisioned for this pot but it needed a home lol
Hand built with groggy white stoneware, and lots of different glazes layered. I love the crazing at the midway point.

I am also experimenting with stoneware for plant pots. This clay is advertised as 1.5% adsorption at cone 6. I'm way too lazy to test so I'll just try planting in it! My houseplants are almost exclusively in terracotta planters. I've got some cone 06 earthenware with 8% adsorption but I don't have many low fire glazes and I'm trying to avoid becoming a hoarder.


I did totally forget to build a tray for it. Previously I thought I might build one in but also lol forgot.

9
Glazes are all from spectrum and are brushed.
Clockwise from top left:
- 2x running hot chowder on whole height, 1 layer black on top 2/3, 1 layer 1107 black on top 1/3
- 2x running hot chowder on whole height, 1 layer Nori on top 2/3, 1 layer Nori on top 1/3
- 1 layer 1107 black on all, 1 layer Nori on top 2/3, 1 layer Nori on top 1/3
- 3 layers Nori lol

- 5 thin layers gold (1112)
- 3 layers lagoon (1180)
- 3 layers storm cloud (1532)
- 3 layers satin black (maybe, I'm honestly can't remember but looks right?
- 3 layers greenstone (1159)

Underglaze, numbers are in the tile lol. Left side is on bare clay, right side is on white. Columns labeled for coats

10
11
I have never used earthenware in a studio setting but my spouse wanted to try it out.
It's cone 06-02 low fire earthenware that was bisqued to cone 04 (whoops) and the glaze fired at cone 06, in a kiln that was also used to bisque stoneware. I put it on the top shelf, furthest away from the down draft vent.
I only did three pieces, just to try it out. The first is a thrown and altered vessel meant more as an art piece than functional.


The idea is that it's technically food safe (still need to test for adsorption and shock) but really awkward to hold and will eventually grow mold on the outside if the outside is allowed to get wet/dirty.
The other two were two small hand building things just to get a sense of what it's like to work with the clay. The first is a ring dish vaguely inspired by the egg pods from Alien.


I used red underglaze and did some slip trailing with slip mixed with underglaze as well.
The next was a tiny box. It's not very good, but helped me understand that I need grog/patience if I want to hand build with this stuff! I used red and black underglaze - the only two I had at the time.


I look forward to messing around with it more and working with it's relatively high adsorption (8% at cone 4) for succulent planters.

12

13
Just sharing what I've been working on, but open to others sharing their own learning experiences more than just tips especially if this isn't something you have tried yourself.
I've been wanting to throw some closed form lidded vessels ever since I saw another student in one of my classes make some really beautiful pieces. (It's an advanced beginner class so very mixed skill level!)
I threw this one with a large flange which I thought would be good for keeping a better seal, but it was honestly kinda shit (I trimmed SO MUCH) and it cracked so I'm not going to fire it. It only cracked after the underglaze too, of course...I had been drying it super slowly for weeks but that was just too wet apparently 🫠


I had a lot of trouble with that peice - and with most of my cylinders, honestly - where I end up eating up the base ro build the walls. I haven't figured out the limits of the clay yet in terms of what size I should be getting from what weight. It doesn't help that I use a grogless clay and am probably trying to get the walls way too thin to support the structure.
The massive thick walls you see above are a weird symptom of that. When I was pulling the top it barely met to crate a closed form and I kept manipulating it to try and flatten it out but that pushed the clay back down. Wack
Anyways, I tried to throw another one yesterday and make sure I kept it wider. The same weird thing was happening even before I got it closed. The walls just kept getting thick, but probably from over compression because I was so paranoid about the walls collapsing. I ended up giving up on closing it on the wheel and used hand building techniques to add a top and close it.
The walls were still too thin and it was collapsing but I fucked around with it on the banding wheel until I got something...okay. it's honestly very fun to manipulate the clay once you get a good seal. I added a knob.
I let it dry under plastic over night and then cut it open. Unlike the previous pot I didn't thin out a section to make a flange. I was inspired by the work of hand builder Marrisa Y Alexander, specially forms like this one.


Now I've got it in a damp box and I'll slowly start losening the lid over a few days until it's hard enough to trim without being too goopy.
I can throw pots with galleries and matching lids, but this is a very fun technique. I hope to figure out my issue with the walls and throw some bigger pots that are closed without having to add a slab and add that additional opportunity for cracking/splitting.
14
15


Programmed to cone 6, but witness cones showed > cone 7 on the top (none of these were up there, > cone 6 on the middle, and > come 5, where most of these were.
The enviro vent worked really well, and it didn't get super hot or anything.

16
Finally got the top shelf unloaded. I love the way the underglaze looks fired 😍. Hopefully it doesn't burn it in glaze firing.


17
We threw it all off the hump and we running out of time and I panicked lol.
Even after trimming it's way too thick. I was so scared of putting a hole through it somewhere because I was super tired.


I look forward to glazing it and hopefully it survives and I can take it home. It's going to be first sized lol

18
We decided to give the level 1.5 class a try and I am liking it so far!
We have a guided project, or people just work on whatever they want. I decided to try the guided project which is something I would have never made otherwise: a three segment dip or sauce container. While I technically have a kitchen table we never use it, but it could be cute for a variety of dips during a movie night or something.
We threw the cylinders last week and trimmed and joined them this week. I still need to finish smoothing the handle and joints but I am very pleased with the shape.
A lot of the people in the class are looking to really dial in a technique and become super consistent, but for me pottery is something I don't have to be precise about and enjoy seeing where the clay takes me.

19
20
21
22
23
24
25
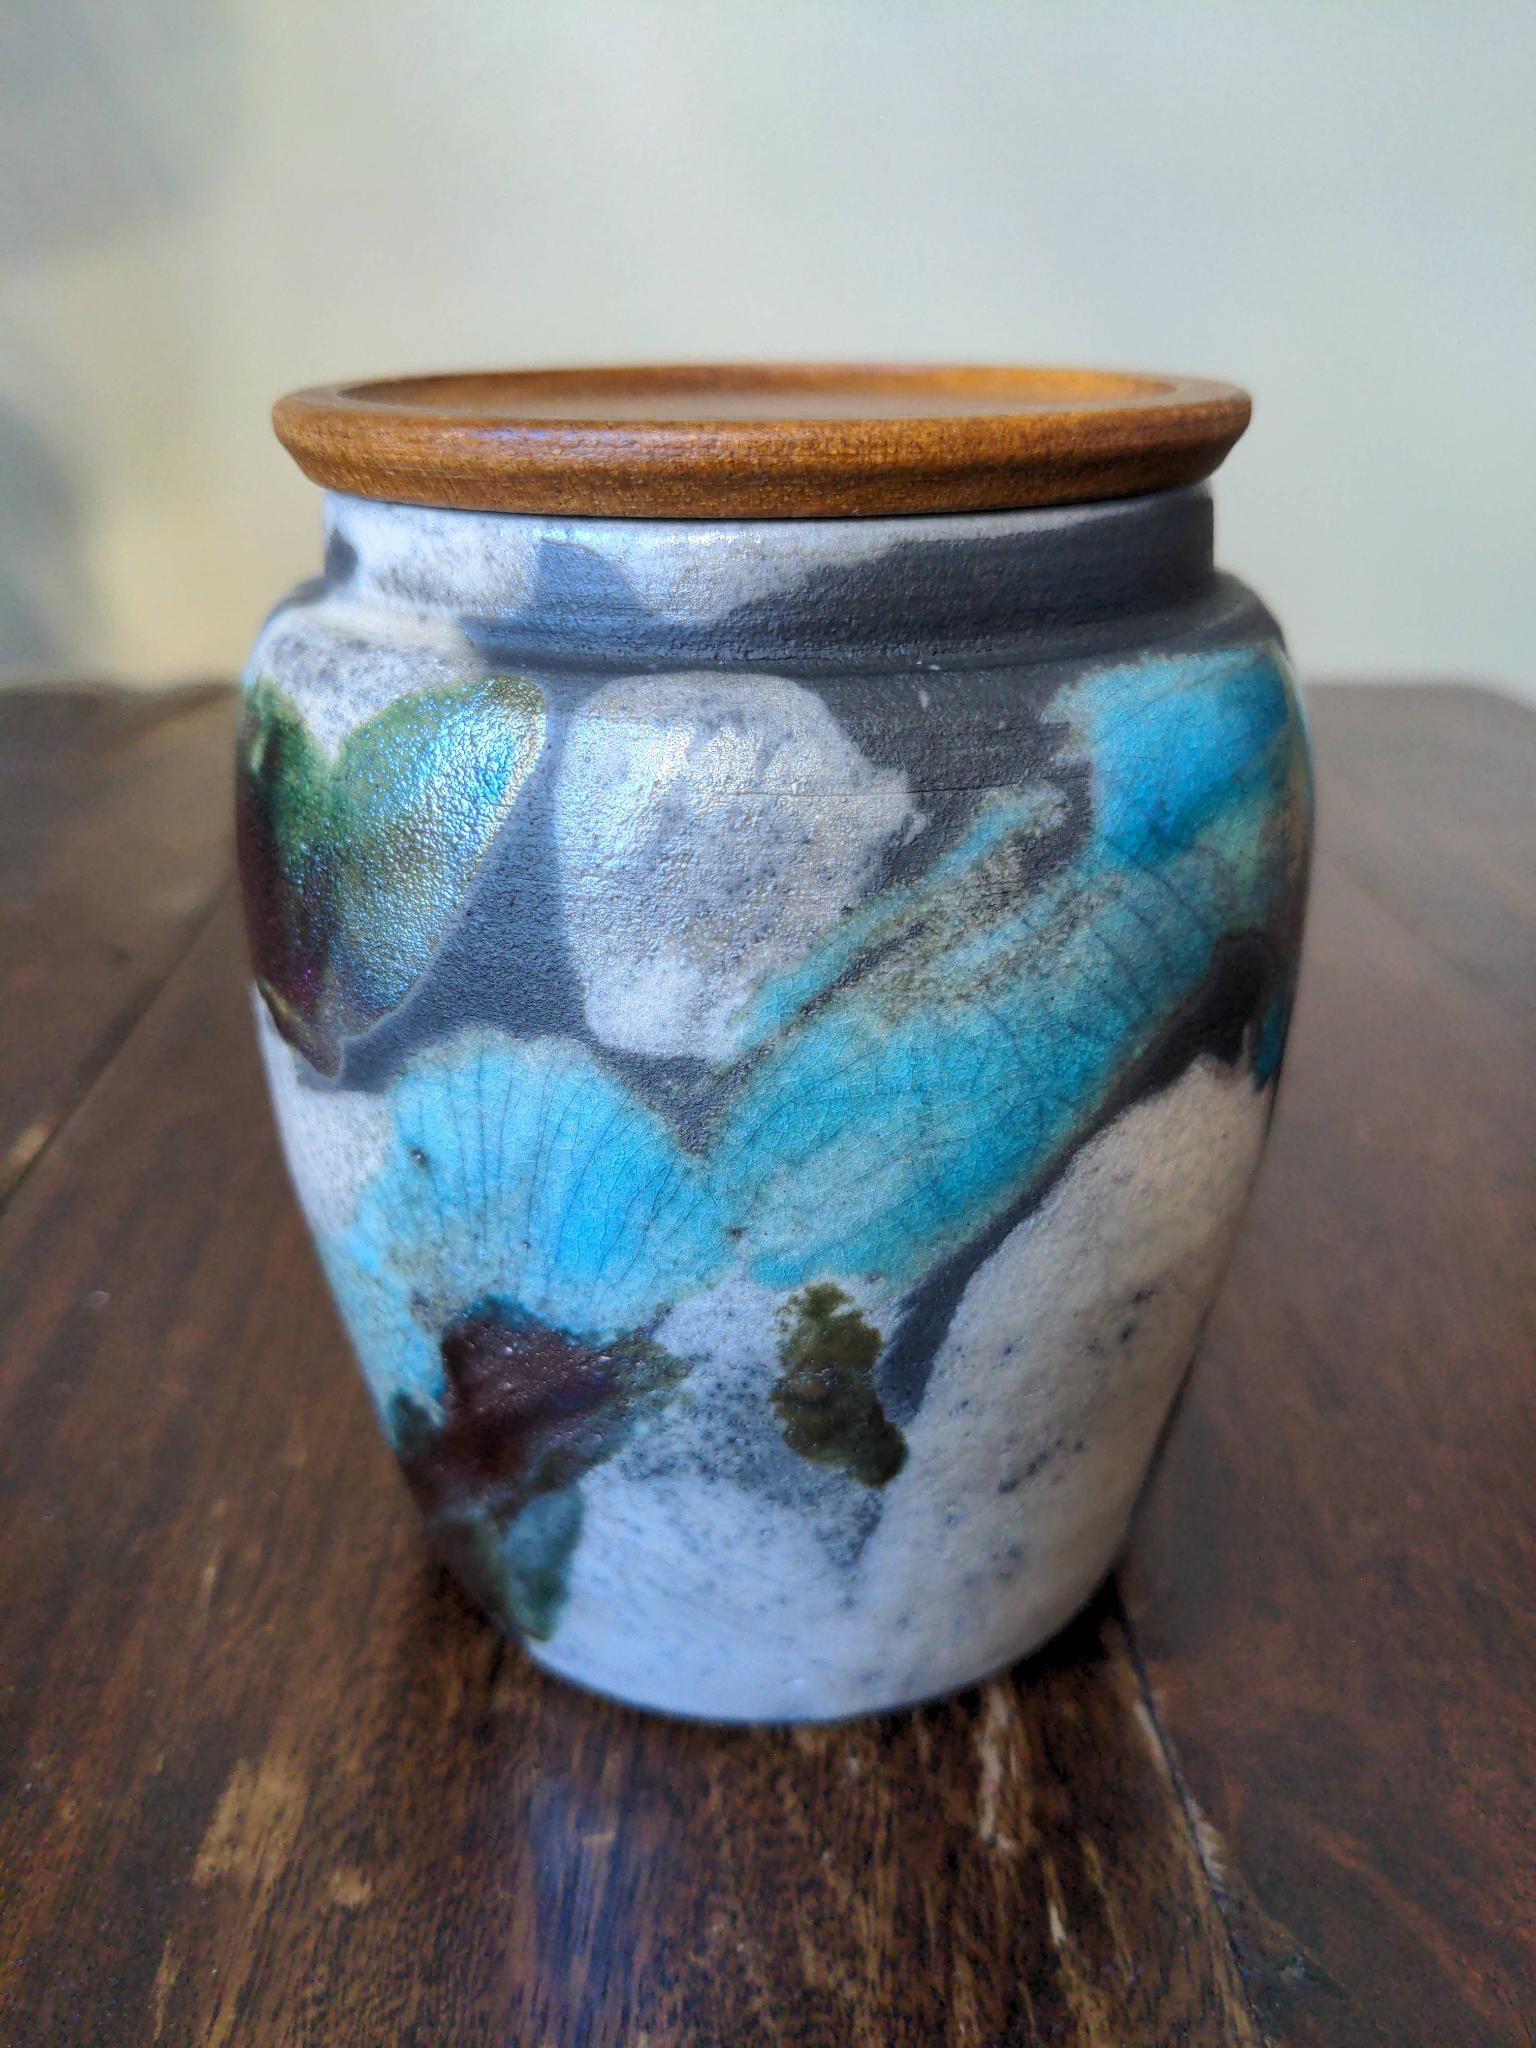
My latest project has been to get my pots to fit off-the-shelf jar lids. It's a fun exercise in precision, and I'm really happy with the results on this one!
view more:
next ›