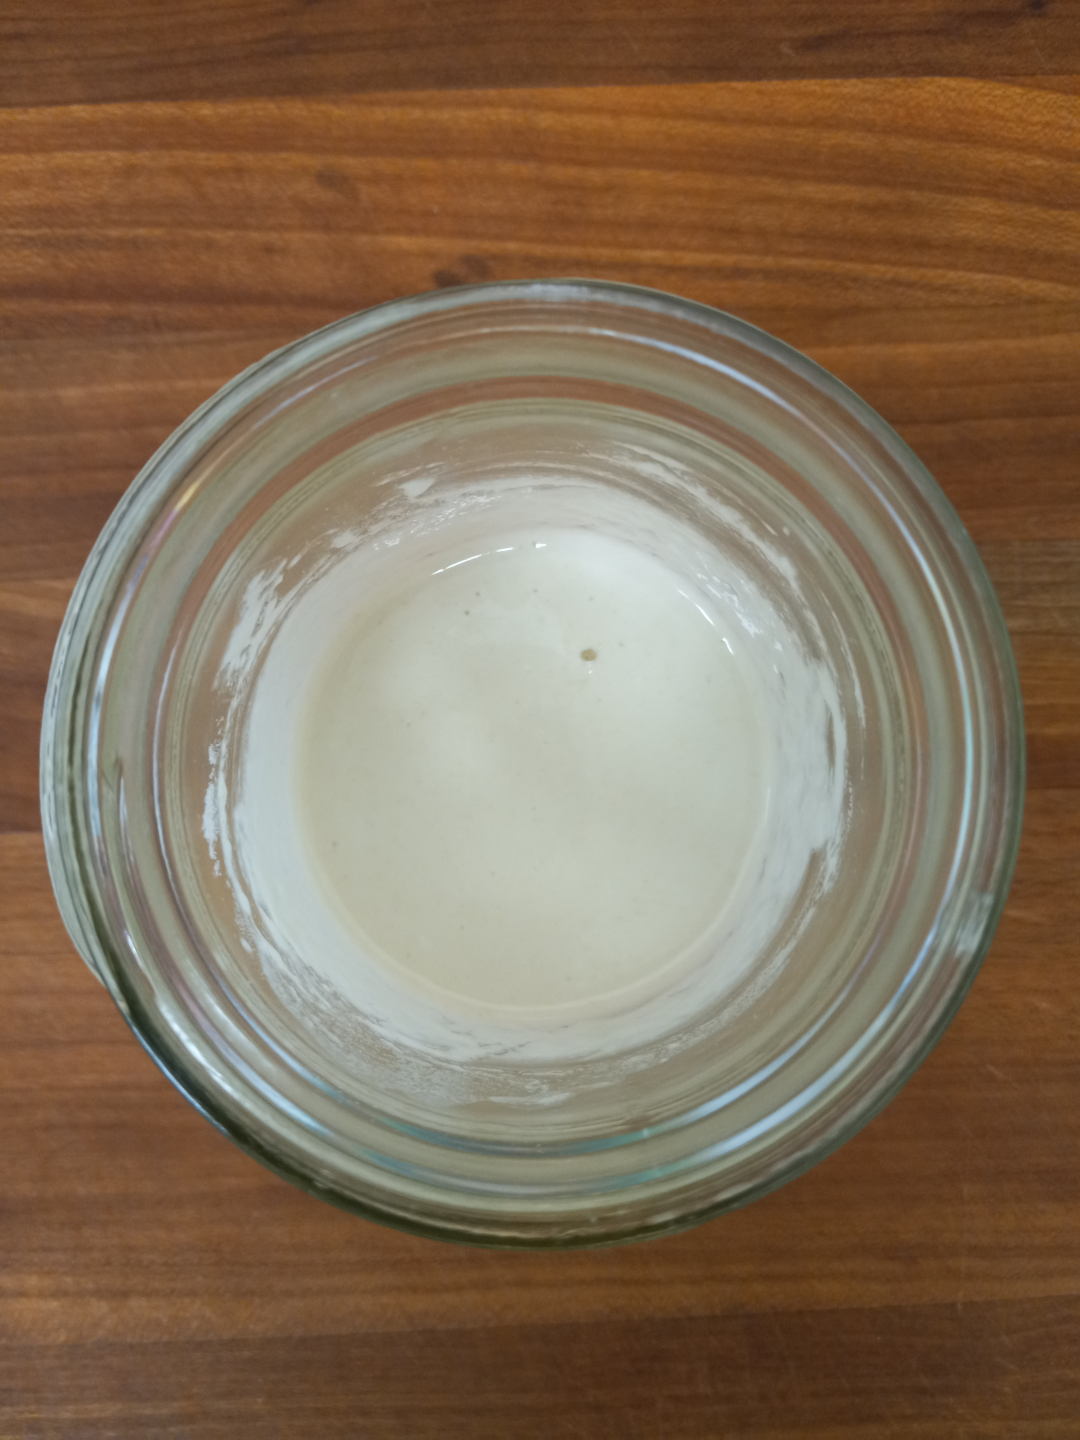
1


I have been baking bagels quite a bit since i closed my business in the end of March. One of my customer's ex-wife convinced me to take my bagels to the weekly farmer's market. I did a double batch (14ish bagels per batch) and sold half of them. I did 7 plain, 7 poppy seed, and the rest everything.

None of the poppy seed sold, 6 of the plain sold, same with the everything. I started another double batch yesterday. Not planning to do any poppy seed this week. I will do a few more plain and keep the rest everything.

2
submitted 3 weeks ago by to c/bread@lemmy.ca


The center was just slightly underdone, but the crust had the perfect crunch I was looking for, made to pair with some goulash I was making

3
submitted 1 month ago by to c/bread@lemmy.ca


I think it came out beautiful, if a little deformed lmao

4
submitted 2 months ago by to c/bread@lemmy.ca


My son is always coming home from the Farmer's Market with a half loaf of jalapeño cheddar bread. I decided to give it a go. I used a semi local green chile, and added it and a pile of cheese to my normal recipe.

There is extra flavor, but not as much as I thought there would have thought. I have enough dough left to bake 3 more loaves, hopefully rising in the fridge overnight helps with the taste.

5


I have made pita twice recently, both times it stayed puffed after baking. I know when I have bought it from the store it was flat.

It tastes great, it is just difficult to store.

6
Bagels Round 2 (slrpnk.net)
submitted 3 months ago by to c/bread@lemmy.ca


Today i had malt powder, and I added an egg wash. They look much better than last week's batch.

I think i will try and find some malt syrup to add to the water they boil in, the powder made a heck of a mess with it.

7
Ass. Bagels (slrpnk.net)
submitted 3 months ago* by to c/bread@lemmy.ca


Day 12 of being unemployed, i have made 3 batches of baguettes, 2 different tries at dutch oven loaves (neither came out well at all),a batch of sub rolls, a chocolate cake (was my son's birthday last week), and today a batch of bagels.

I do not have malt powder, nor did the grocery store in town. But I will be ordering some. The crust (skin?) was a bit too crackly, and not soft like bakery bagels. But were still great.

8


This was my time baking baguettes. Loaves on the left were the first, while the right being the final. You can see as the batches went on they came out better. I baked them 2 at a time on my pizza stone.

680g water (100f/37.5c or below)
10g granulated yeast
17-25g kosher salt
910g all purpose flour

I added 20g of vital wheat gluten to up the protein of the bread.

I formed 225g of dough into my loaves. Oven was heated to 450° f (I guess that is ~230c) and let the pizza stone heat for 20 minutes at temp. My two formed loaves rested during the heating. I placed a sheet of parchment paper on my pizza peel. Then the loaves on the paper, I slashed them, and wet the surface with water (initially I used a silicone basting brush, but switched to a spray bottle after the second batch).

After their 20 minute rest the loaves went into the oven for 25 minutes, after 10 minutes I pulled out the parchment paper. While this batch was baking I started getting the next ready.

I also add a small saucepan of water to the oven to add humidity.

We ate them with a buffalo ranch white bean dip i made for game. My son does not like beans, so he ate two loaves like bread sticks.

Now I am trying to find some good baguette pans so I can do this more easily. I am also going to try a softer bread today to make sandwich rolls.

9
Chocolate challah (media.piefed.ca)
submitted 5 months ago* (last edited 5 months ago) by to c/bread@lemmy.ca


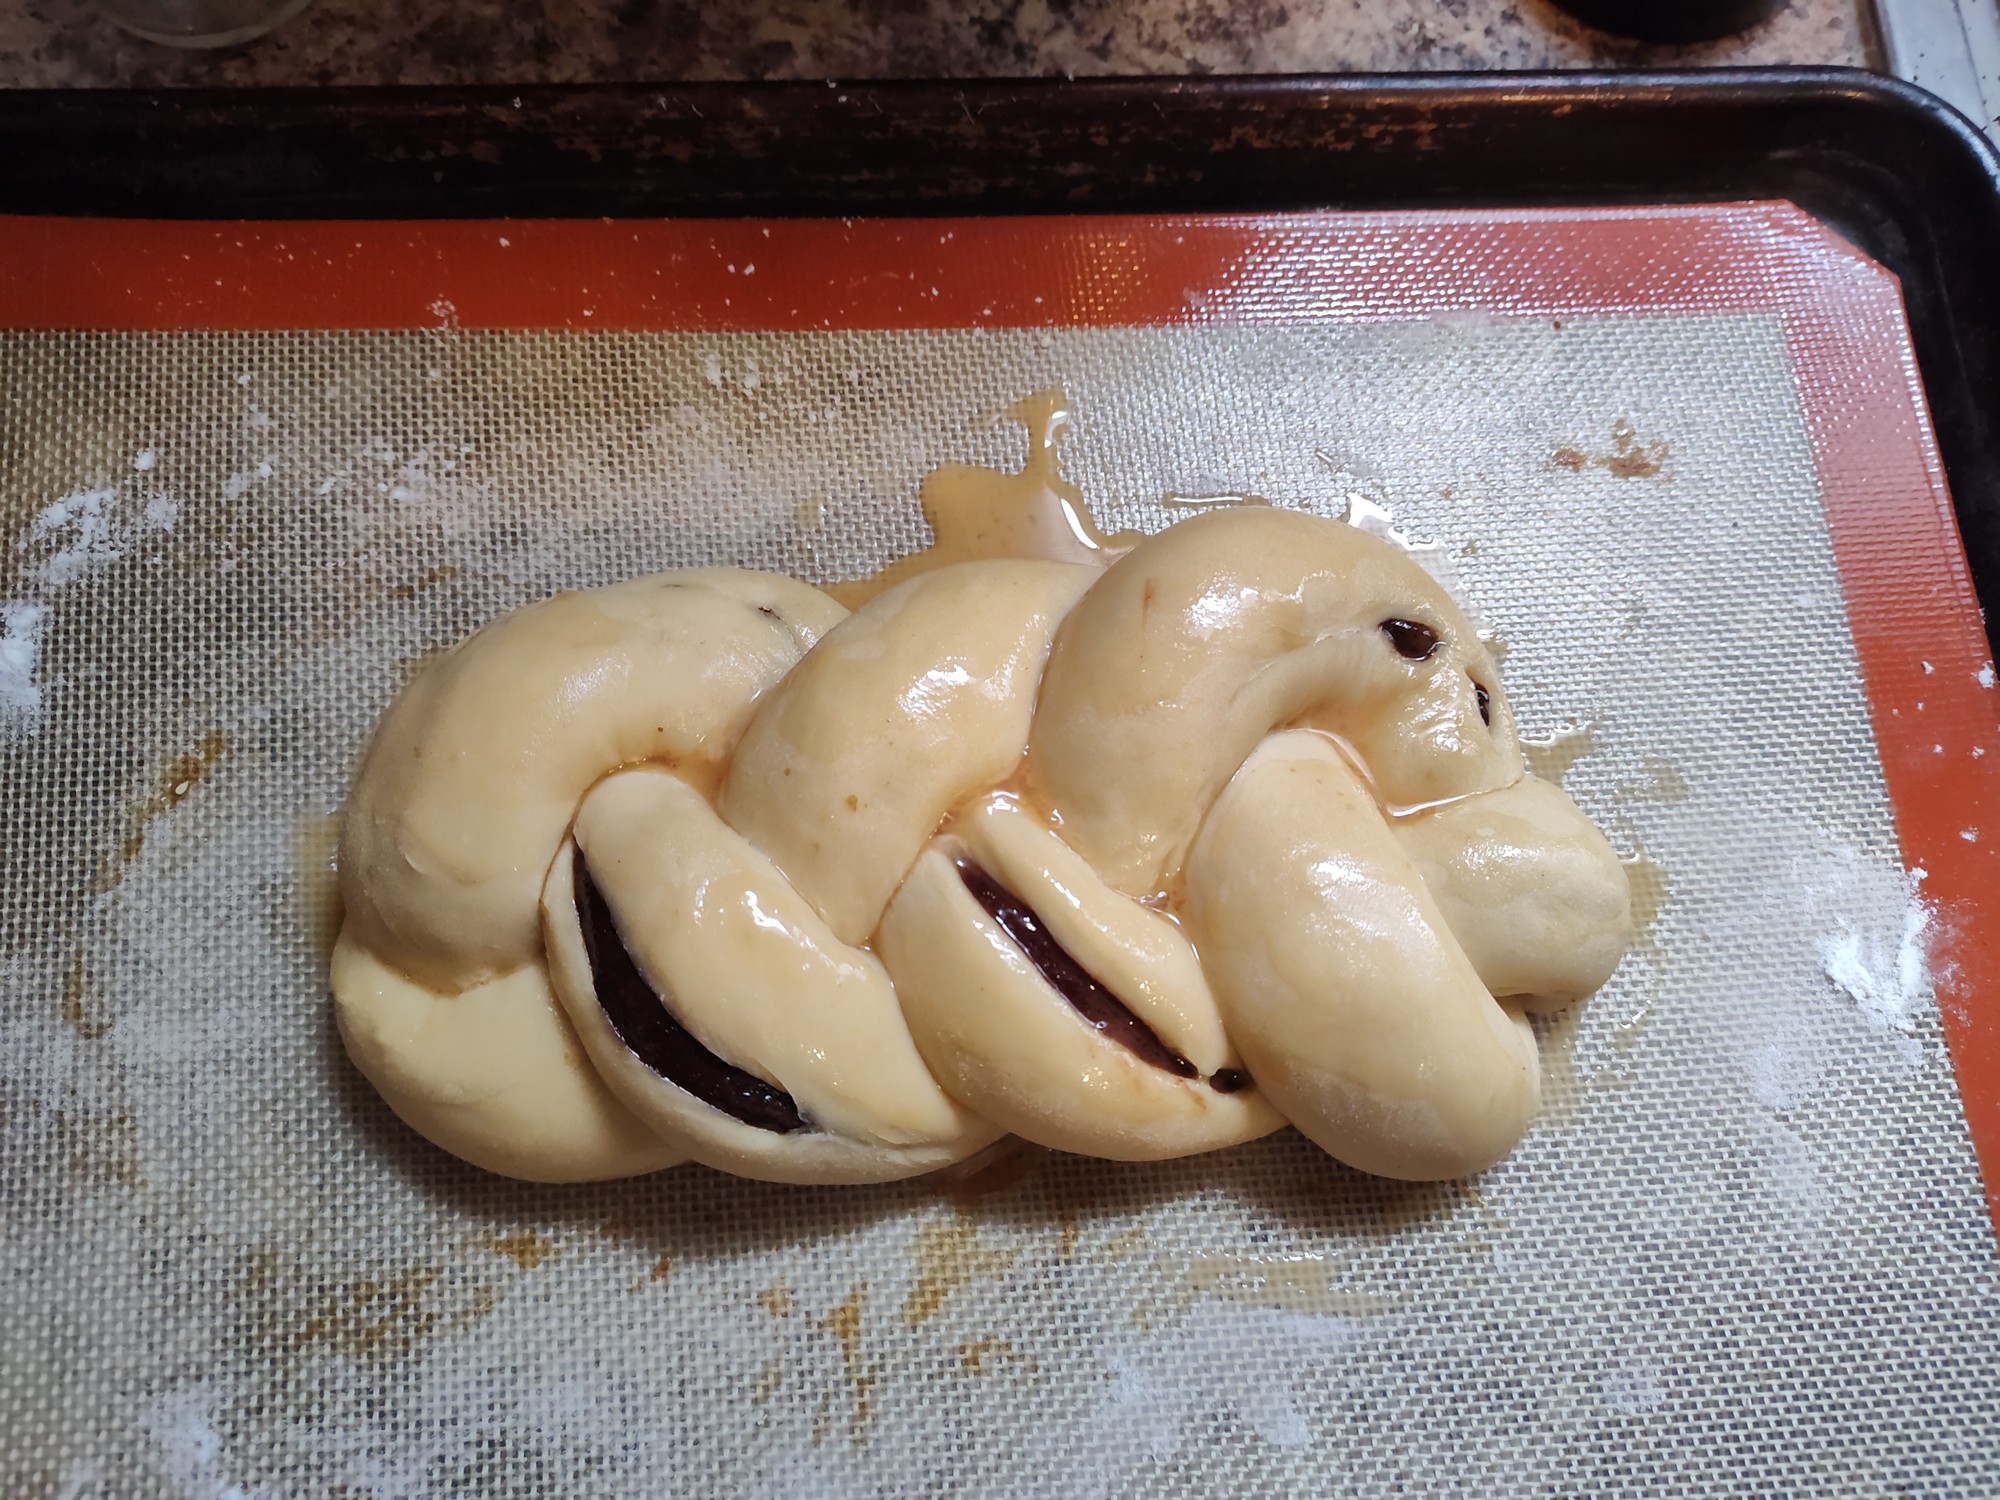
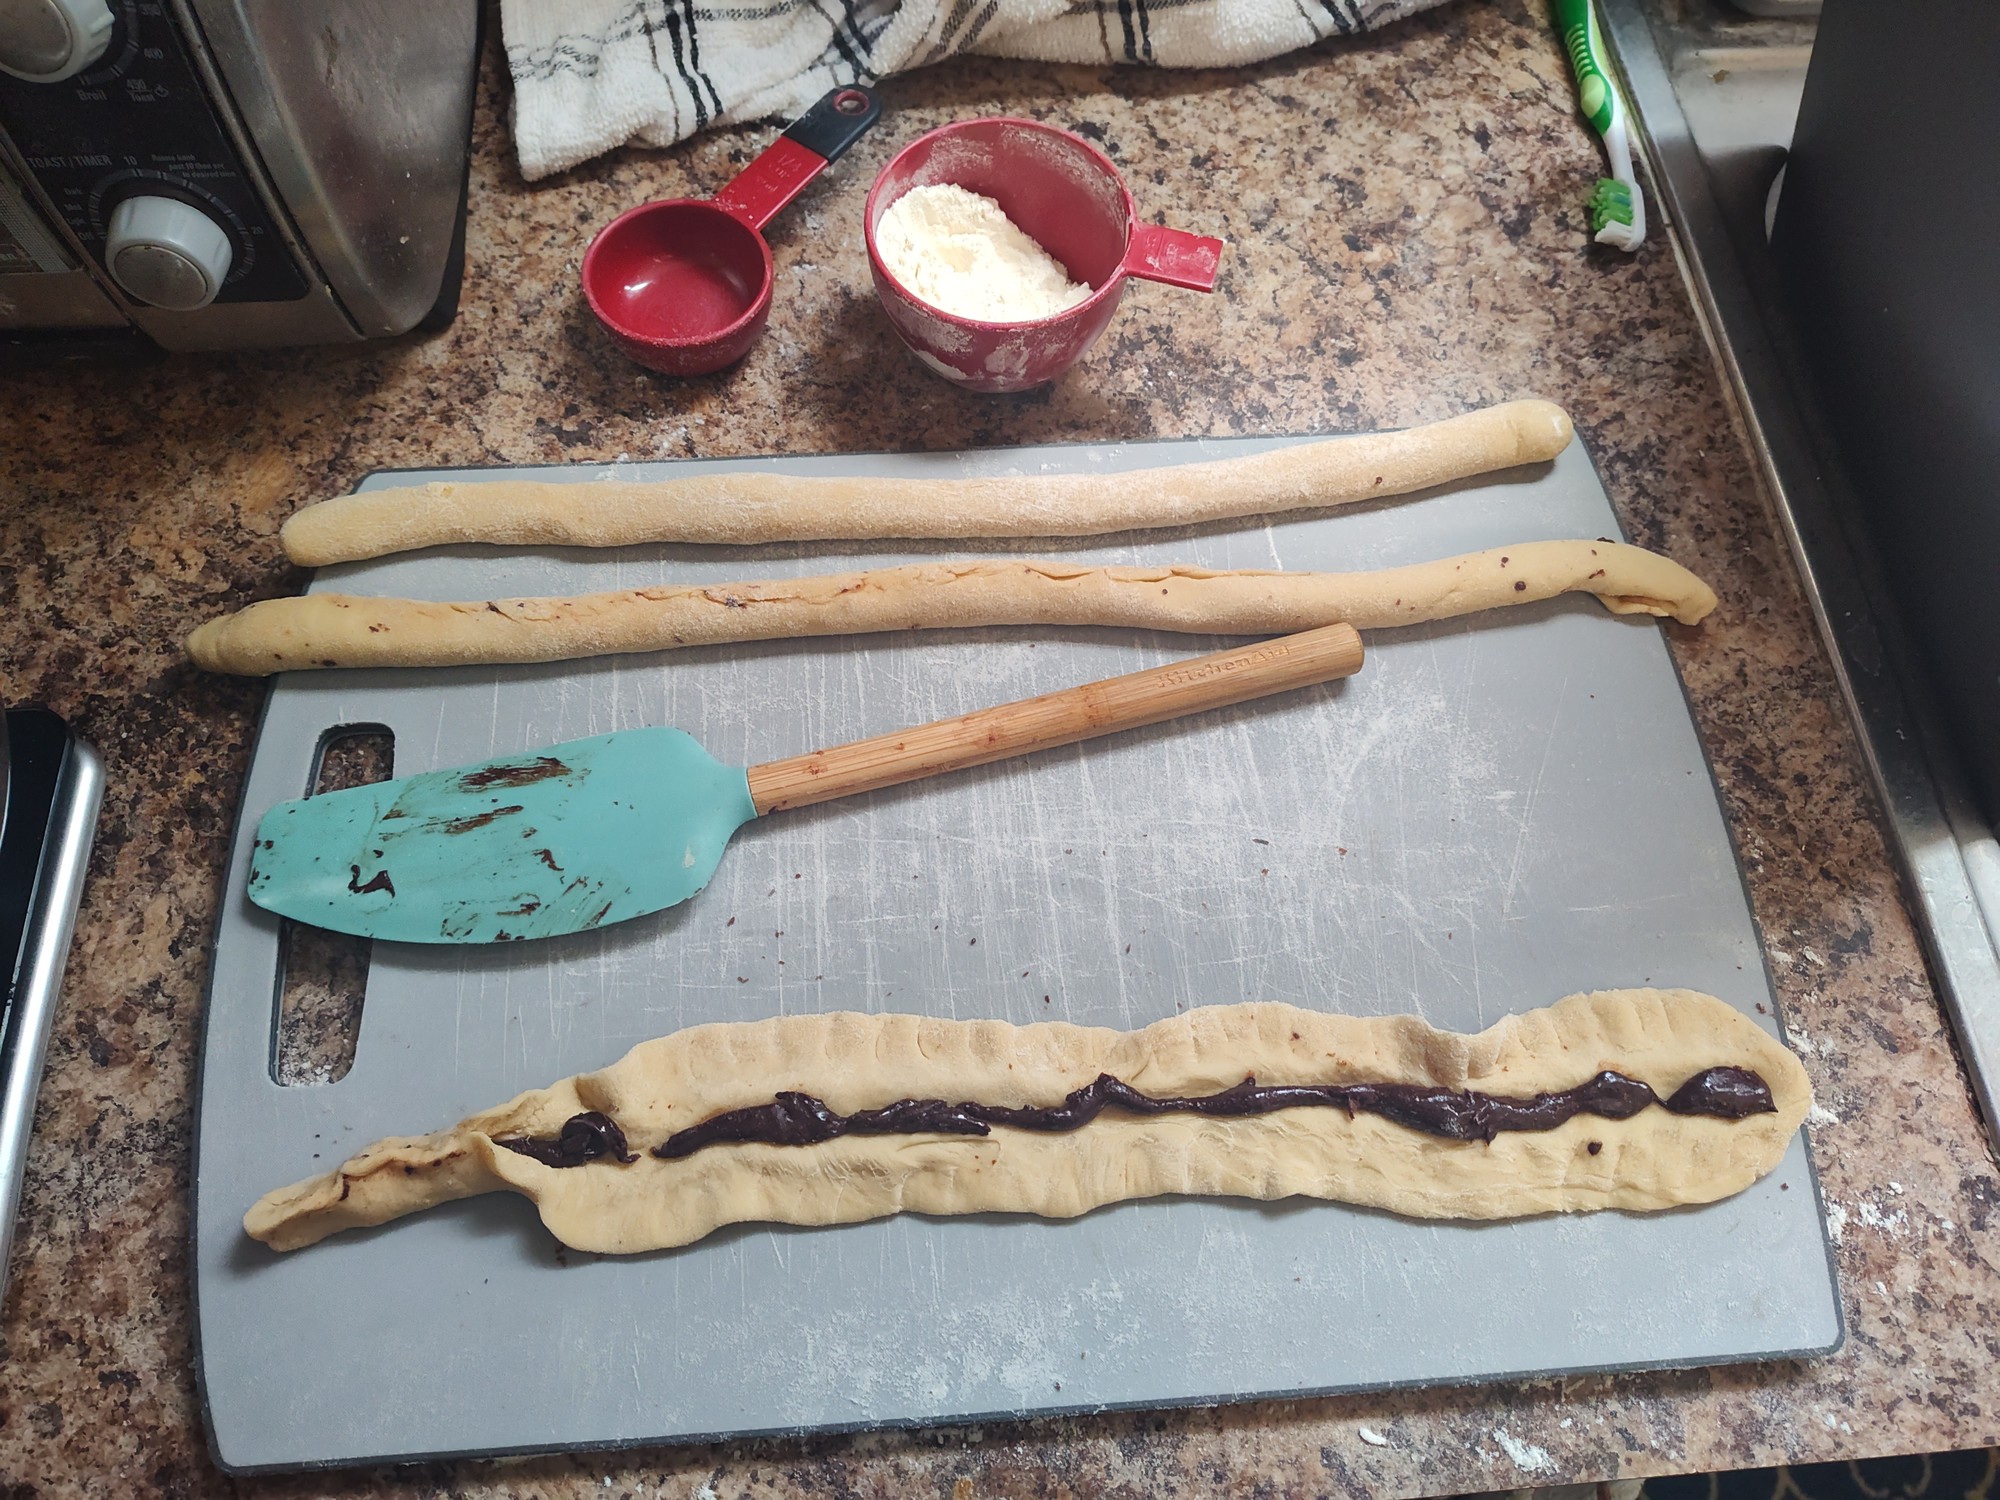
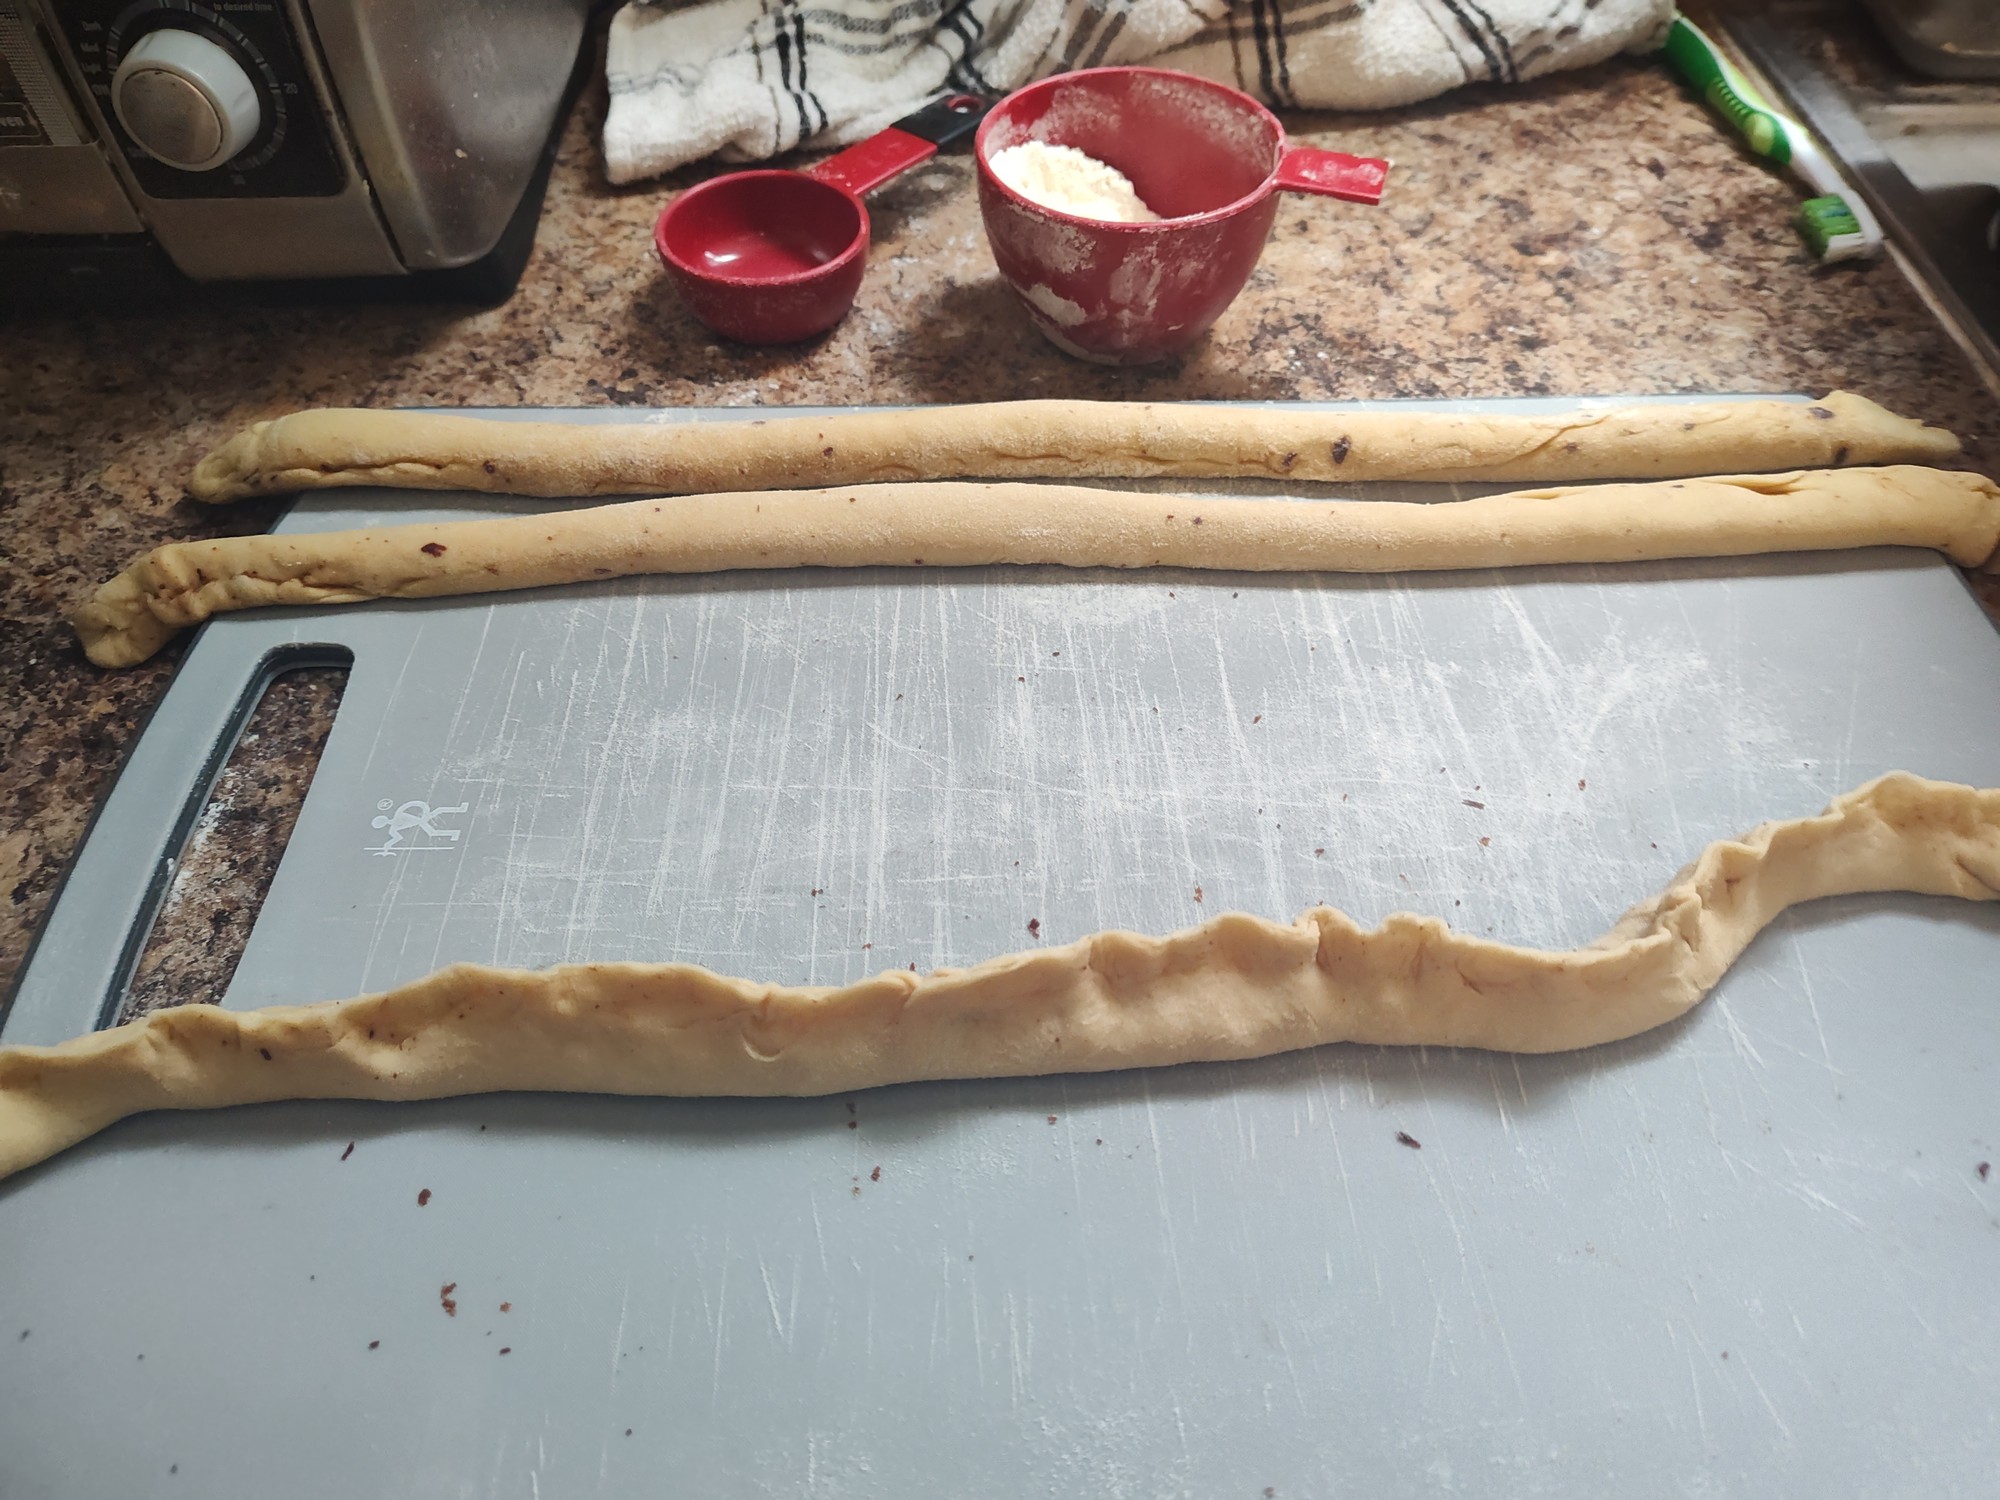
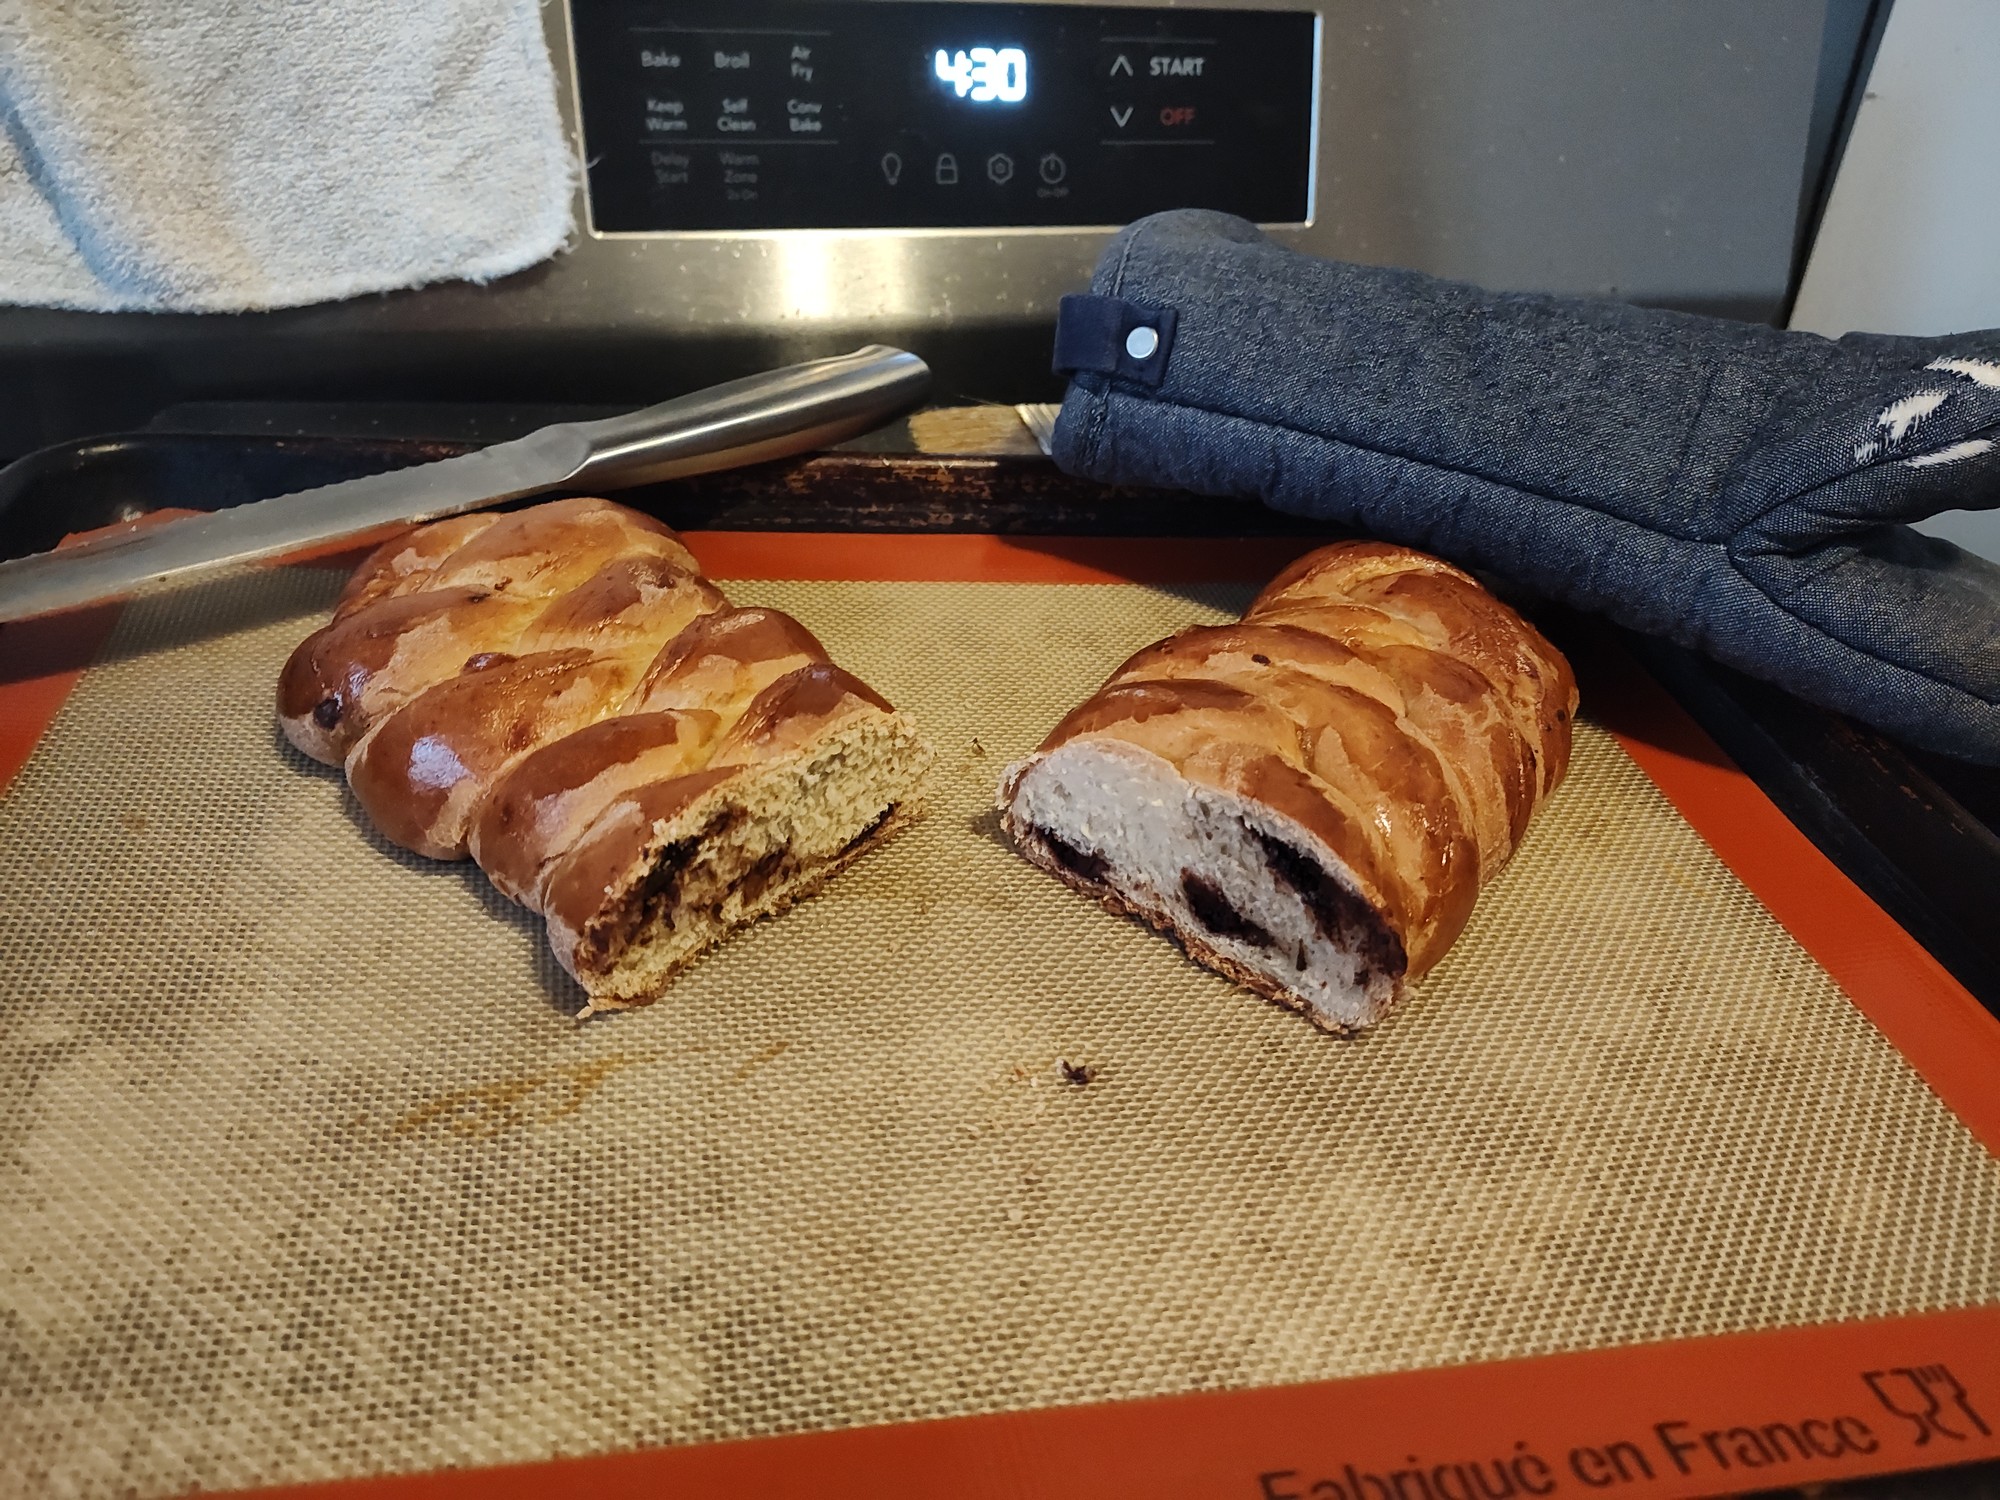
This was a while ago, but I made a loaf of challah, and having had success with babka in the past, decided why not. Melted some baking choc and thoroughly mixed in sugar and honey. I actually made two loaves: the one in the pic was the first one. For it I just flattened the logs, spread the chocolate in like peanut butter, then pinched the logs shut (though they split back open during rising, I figured it would look pretty and I Meant To Do That). But for the second loaf, when the chocolate had cooled down, it had basically turned into chocolate play dough! It was remarkable how non-sticky this log of sugar and chocolate became. I guess just go heavy on the sugar, refrigerating it would probably also help, but I just had it sitting on the counter!

The egg wash spots are unfortunate. Sometimes if I'm not careful I deflate the loaf with the brush, so I err on the side of caution, but if you brush it before the rise then the egg wash doesn't cover the newly risen parts, and the spotting is even worse. maybe i should brush both before and after the rise idk
eggwashed loaf ready for the oven

oh hey, found some more pics of the other loaf. this one DID deflate a bit lmao

playing with my play doh

pinching the log tight; the exterior on the first one was pretty but I thought keeping all the filling inside would make for a nice cross section

aaaand i let it rise too long. and i should have let the chocolate cool before cutting. oh well it was still tasty!

10
submitted 5 months ago by to c/bread@lemmy.ca


apologies if this is counts as a repost, just trying to figure out how crossposting works. i did edit the op with more pics if you already saw it earlier

pretty happy with these. white bread + 1 flax egg and - less than 1/4 cup water. the ones that are properly coated…

11


Within the last year I learned to bake bread, and have been experimenting with various types of breads made with instant dry yeast.

This includes "sandwich bread" with a relatively fast rise. The sequence of events looks like mix flour, autolyse, add yeast + sugar source + salt + seeds, knead, brief rest, shape, put in the pan to rise, bake. Lots of yeast, 6 to 9 grams for one loaf in a 9x5 inch (23x13cm) rectangular pan. So the rise time is quick, which for me when making a loaf like this is a feature, not a bug.

Anyway I have been experimenting with a recipe which uses >50% whole-wheat flour, and trying to optimize the rise. I don't mind dense bread but I would like it as fluffy as I can get with that much whole grain flour.

I have been having a lot of problems getting the loaves to rise beyond a certain point. They rise pretty fast, then slow down, stop, and start to collapse back if I don't put them in the oven at the point they've stopped rising.

Is this because a recipe with such a quick rise actually requires sugar and the yeast is running out of it? The recipe I'm tinkering with includes blackstrap molasses. I want to minimize added sugars, but perhaps I need a bit more molasses? And what is happening to the gas bubbles when dough starts to settle like this, is the gas diffusing out or being absorbed into the water within the dough or what?

I added an autolyse step (mix flour & water, let rest 30 min) before adding the rest of the ingredients & kneading, and it made a very small difference if any.

The ingredients:

Wet

  • 350g warm water
  • 30g blackstrap molasses dissolved in 60g water

Dry

  • 300g whole wheat flour
  • 240g white all-purpose flour
  • 45g flax meal
  • 35g raw sunflower kernels
  • 35g hulled hemp seeds
  • 9g salt
  • up to 9g yeast depending on kitchen temp
12
Rising Dough (lemmy.world)
submitted 2 years ago by to c/bread@lemmy.ca


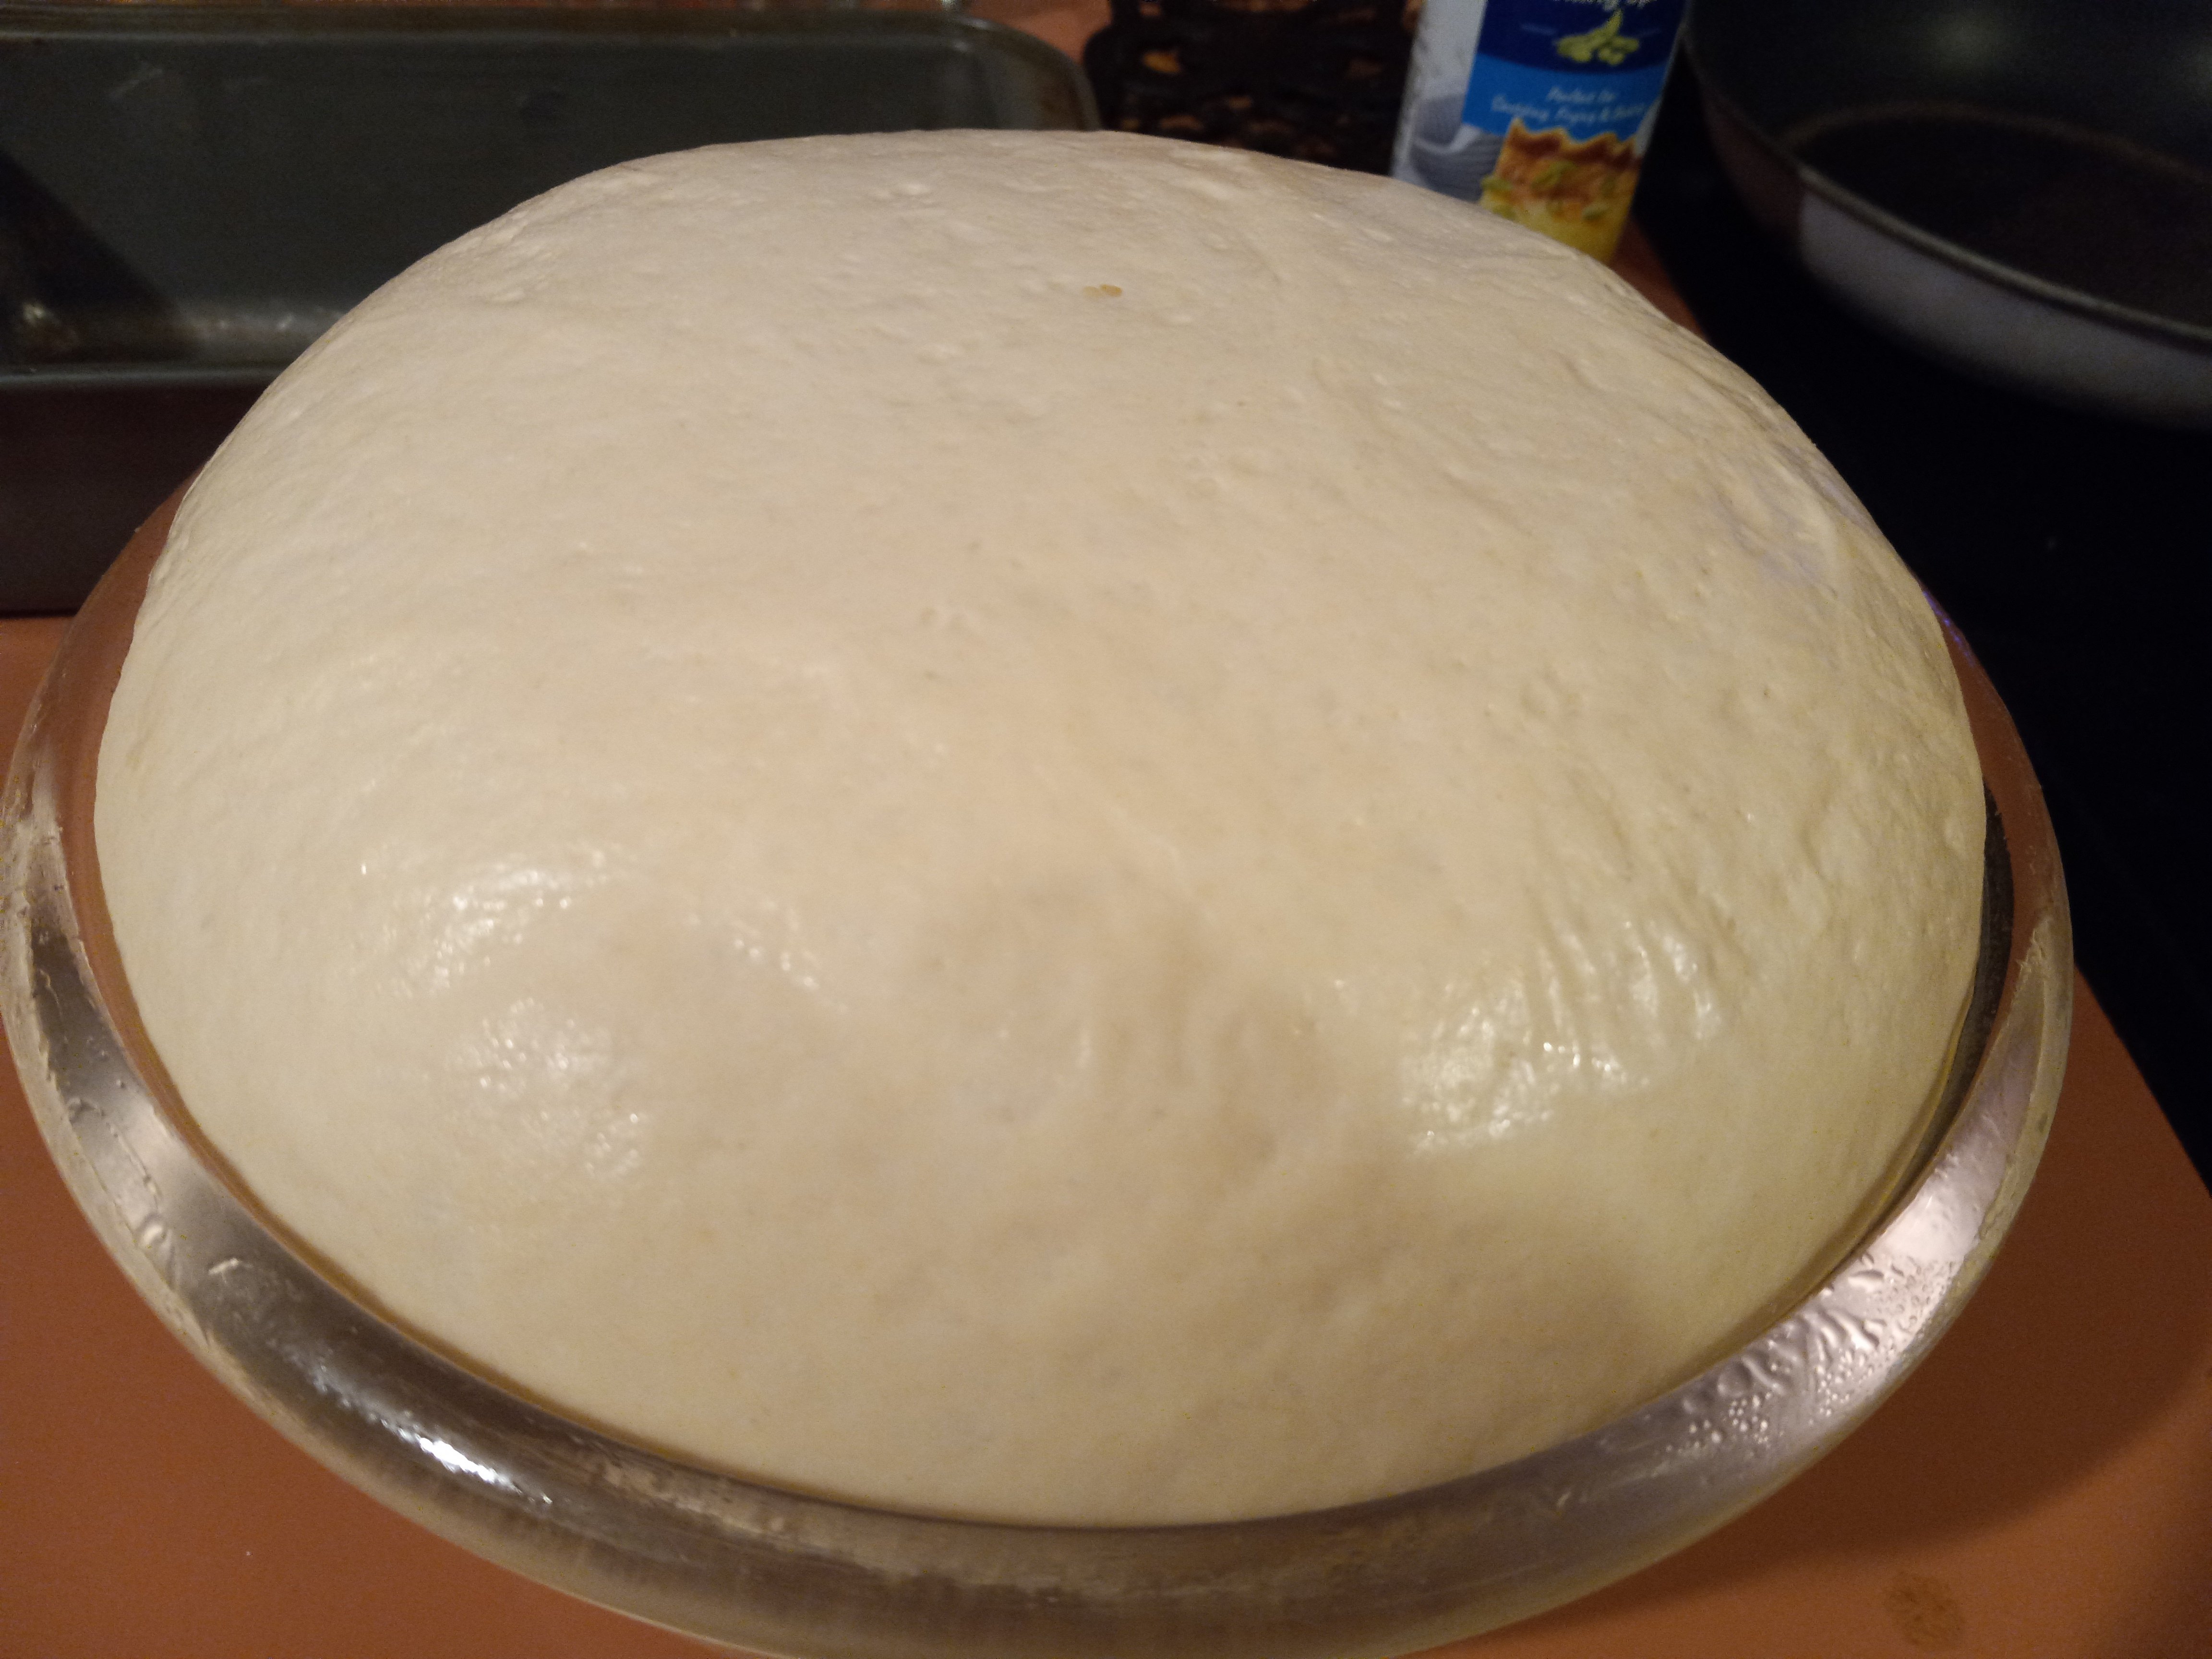
Its my favorite part of bread making, watching it rising and be all bouncy and stuff!

13
Naaaan (lemmy.zip)
submitted 2 years ago by to c/bread@lemmy.ca


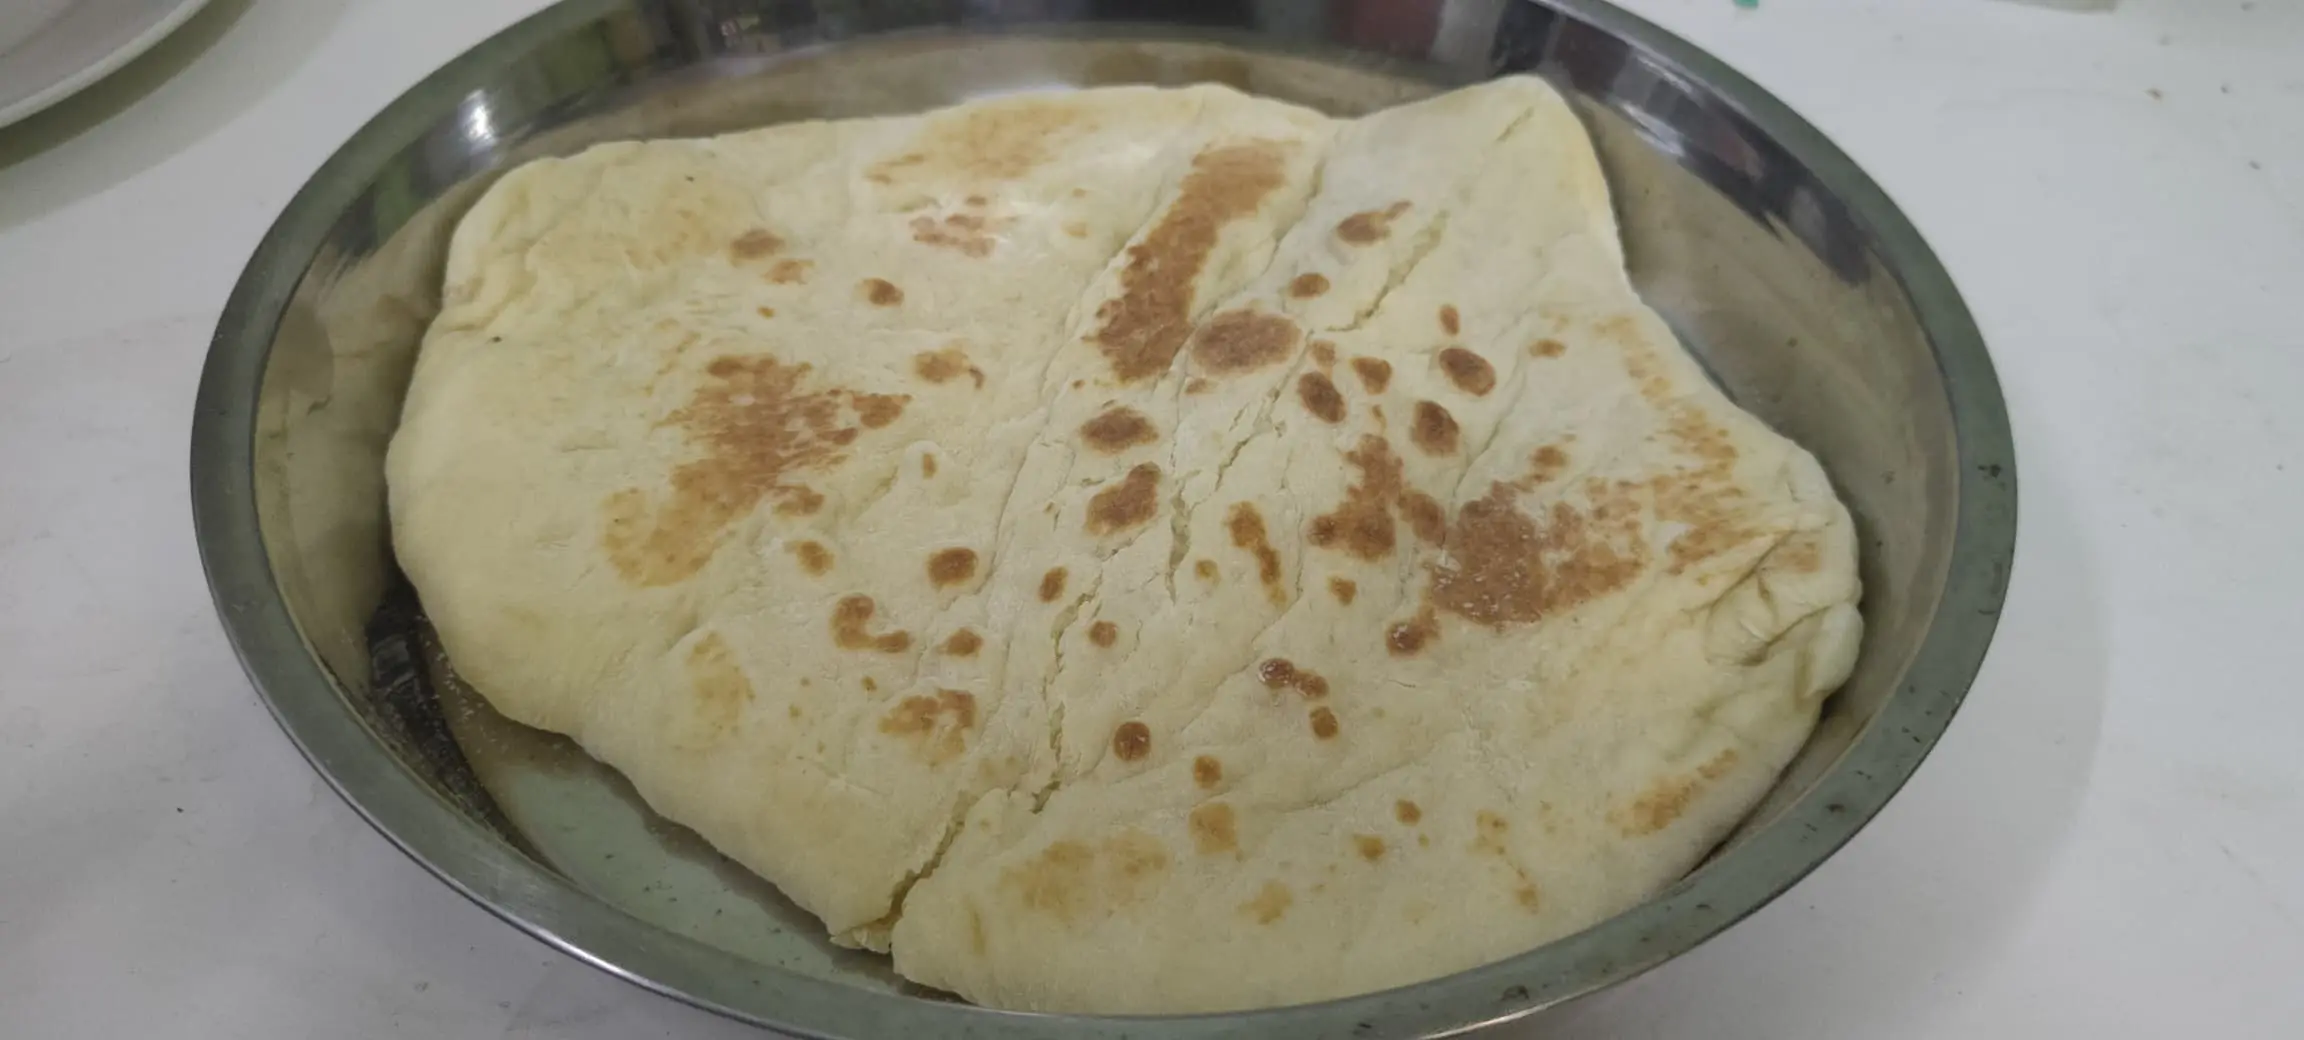
technically not-naan because i can't have yogurt

14
100% Rye sourdough (sh.itjust.works)
submitted 2 years ago by to c/bread@lemmy.ca
 
 
15
Sourdough Rye (sh.itjust.works)
submitted 2 years ago by to c/bread@lemmy.ca
16
submitted 2 years ago* (last edited 2 years ago) by to c/bread@lemmy.ca


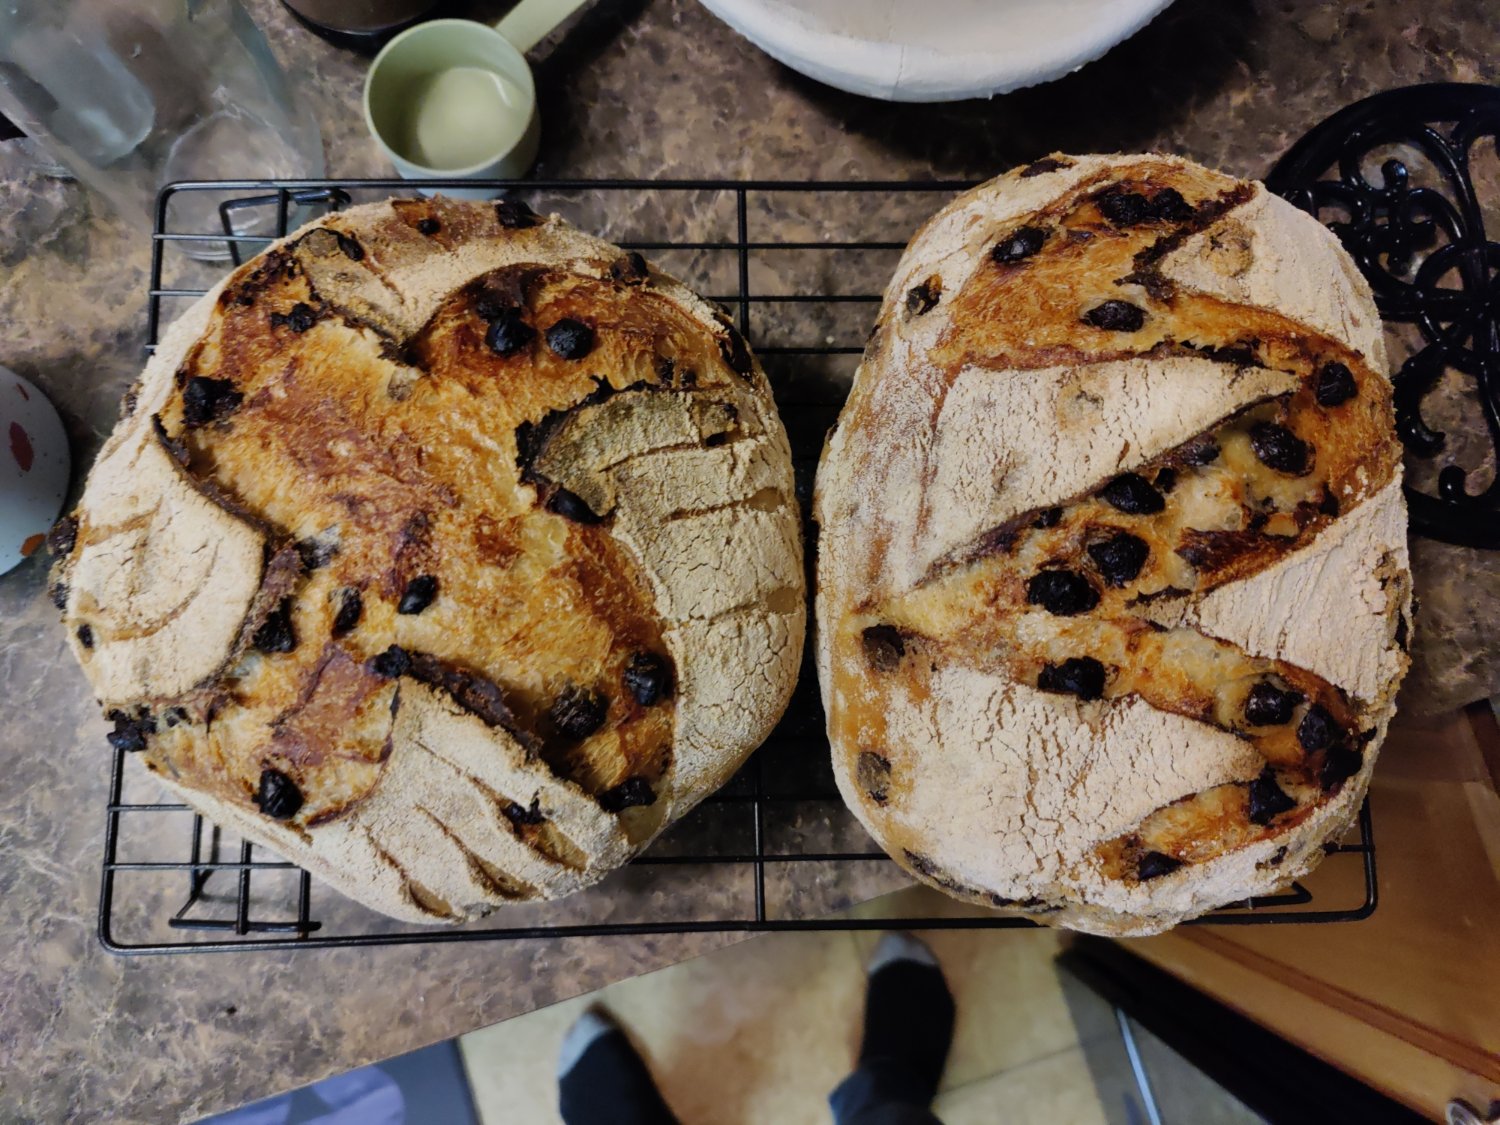
Modified version of King Arthur's Pain de Campagne recipe. Work two cups (one per loaf) of semi-sweet mini chocolate chips into the dough before the bulk rise step. Definitely worth a shot! Delicious toasted with some butter, would probably make great French toast as well

17
 
 
  • 1/3 Whole wheat flour
  • 2/3 White bread flour (all purpose works as well)
  • 70% Mill Street Organic Lager (any light lager works)
  • 2% Salt
  • 1.5% Yeast

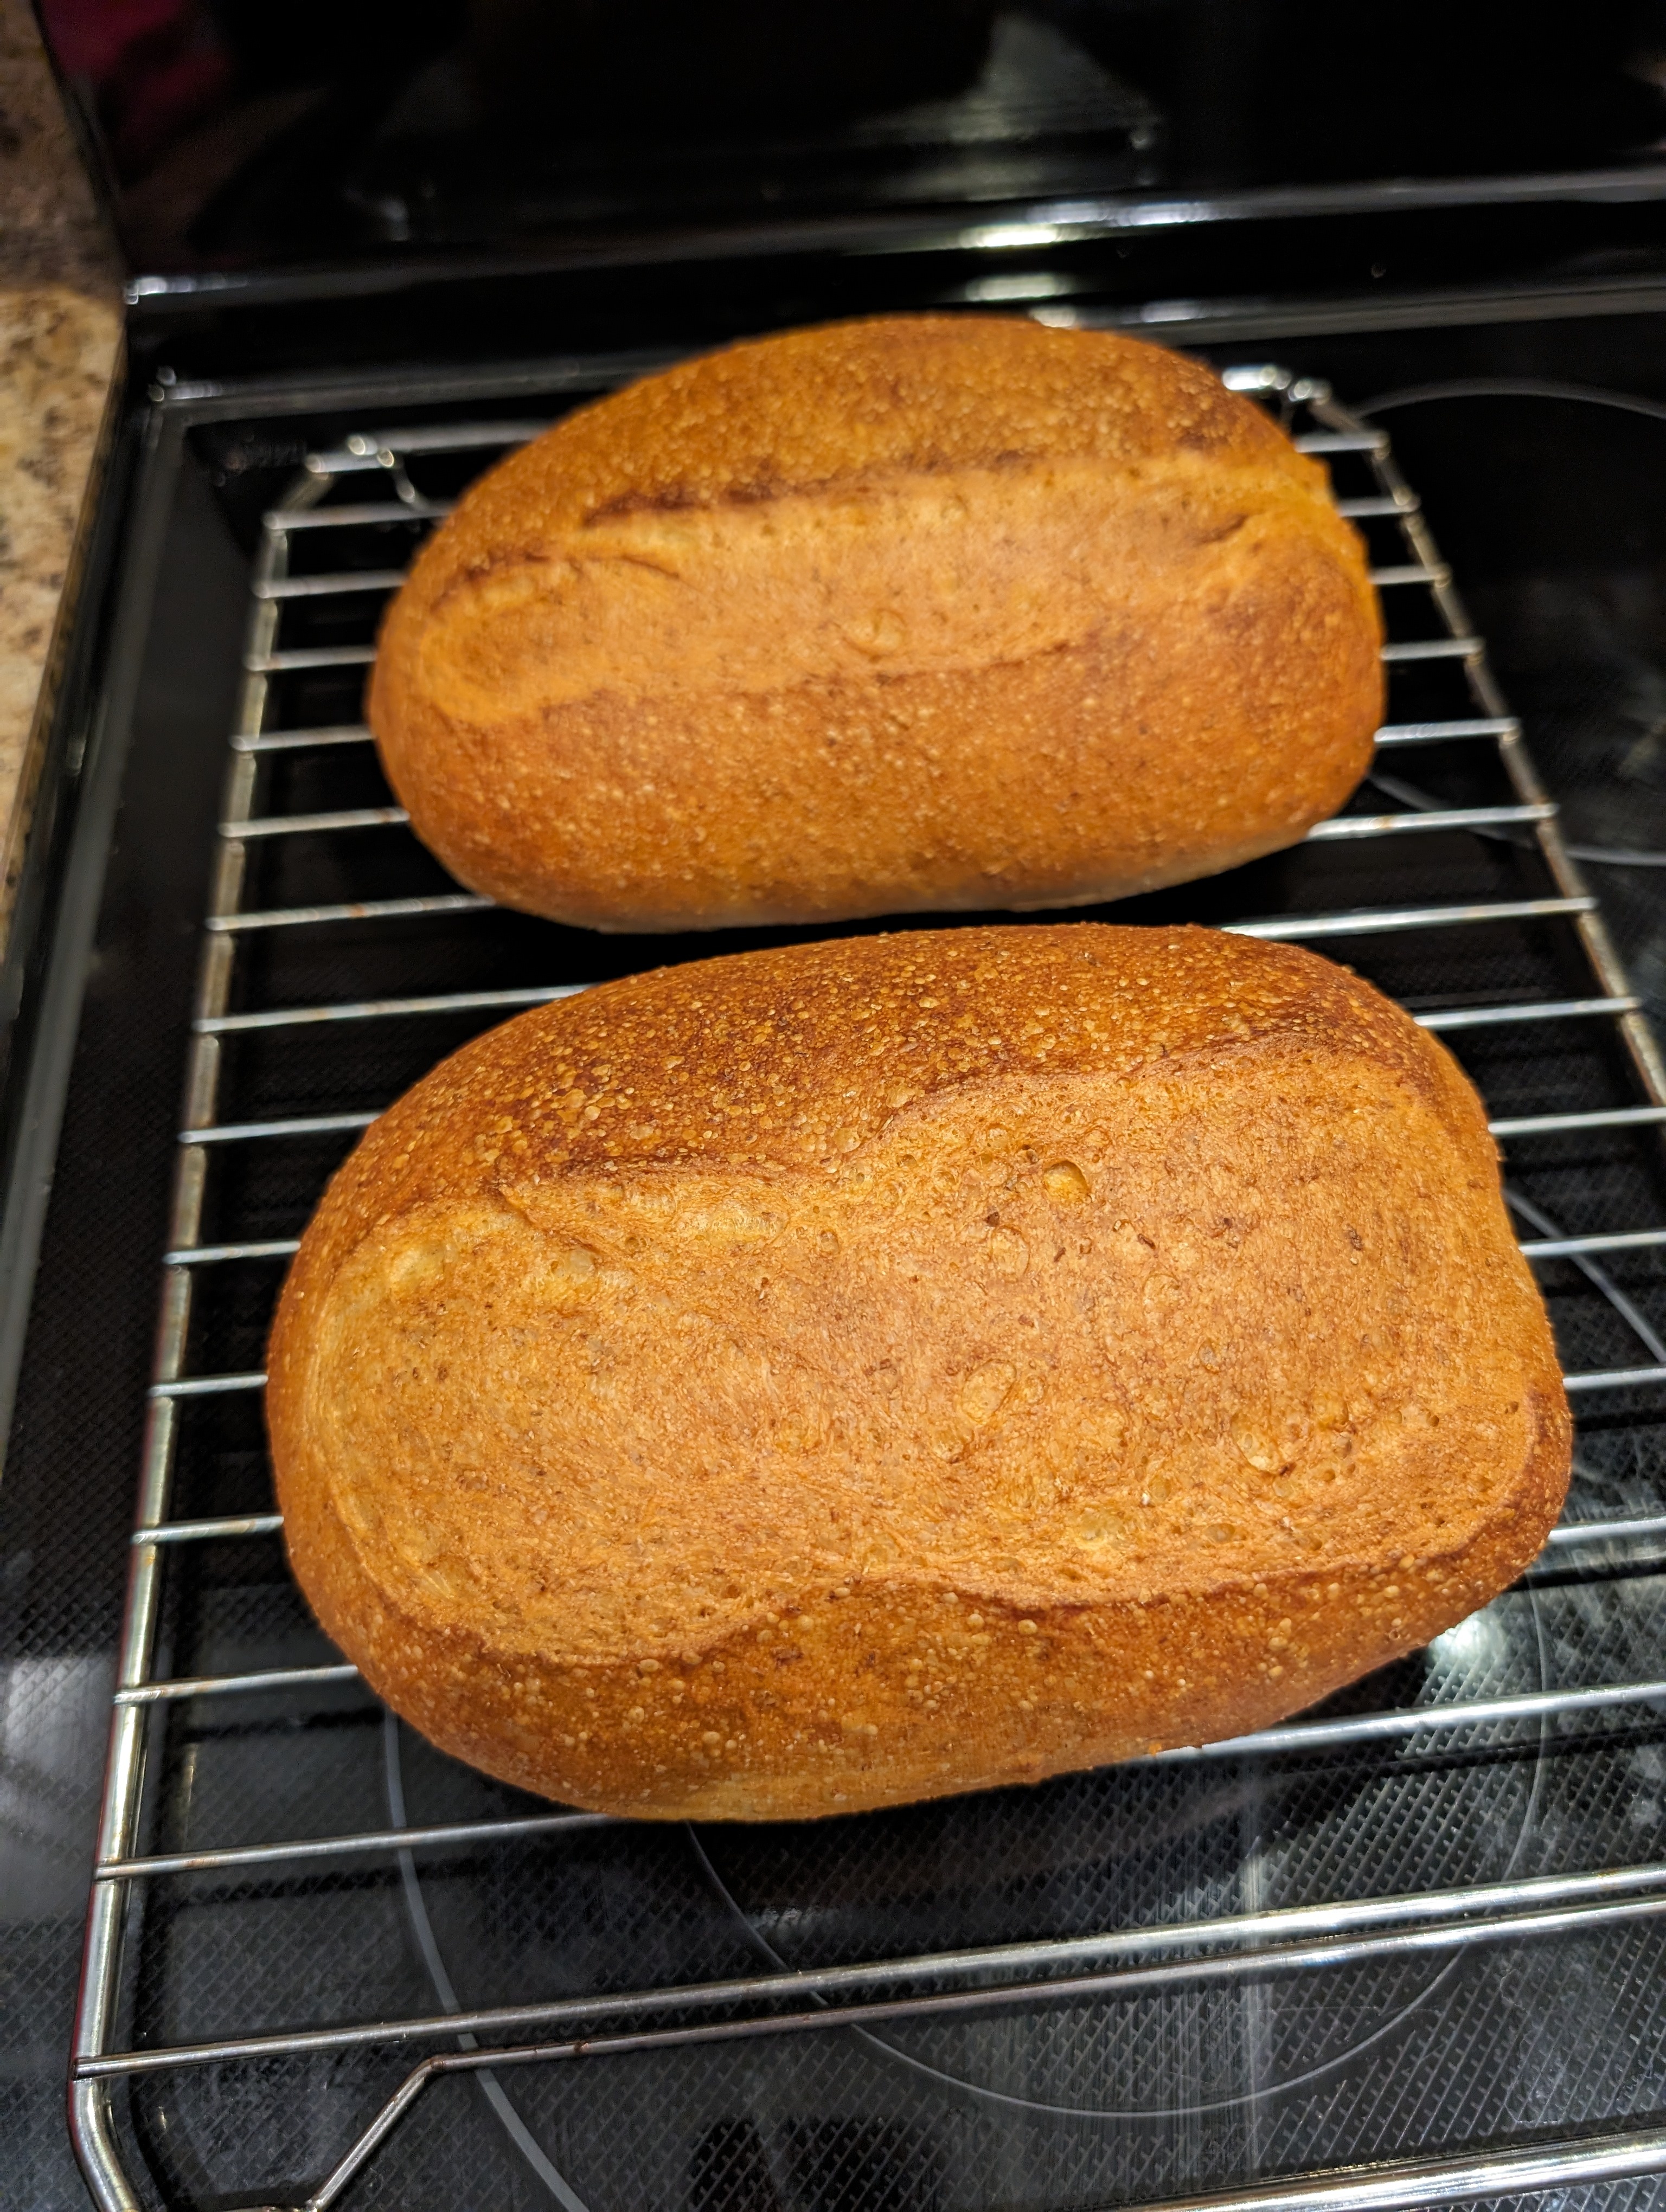
Bulk ferment for 2 hrs with one or two folds at 20min and 40min. Proof for 2 hrs then bake in an oven that was preheated with a cookie sheet full of water (careful of the scalding steam when you open the door). As soon as the bread is in the oven spray it down with way too much water (careful of your oven window) then close the door to trap all the steam. You should get some good spring and that nice crunchy/speckled crust.
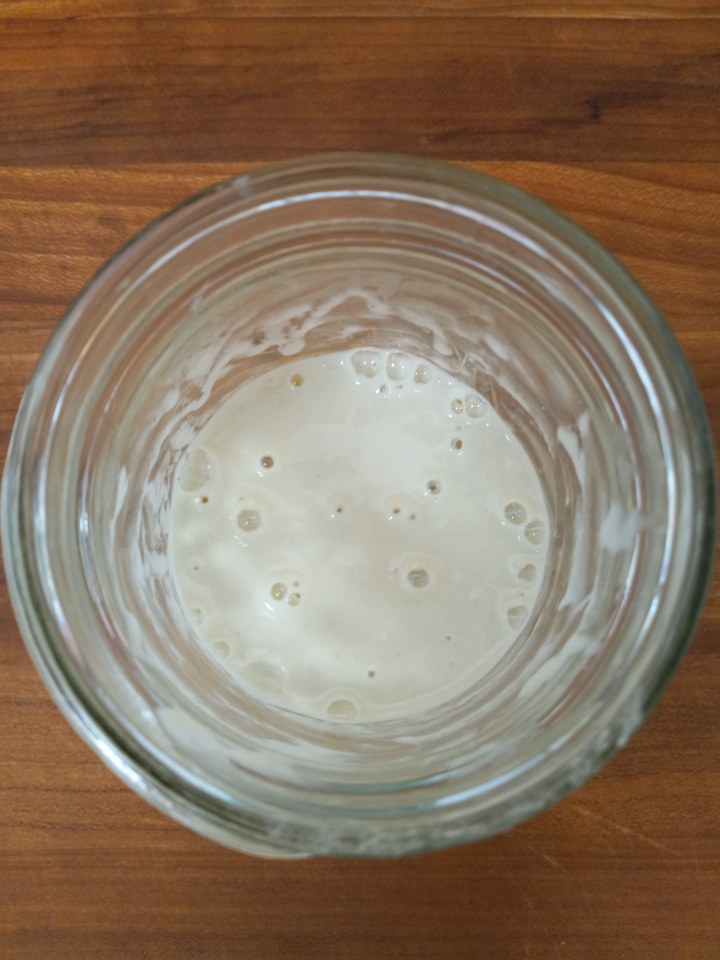
Protip: 500g of flour is the perfect amount for a 355ml can of beer.

18


Money is SUPER tight for us this right now and we ran out of milk and couldn't go get more. I found a box of coconut milk in the pantry and looked up recipes for coconut milk bread.

Turns out that there is a Samoan Coconut Bread called Pani Popo that fit the bill perfectly. A very easy dough to make that is forgiving and very tasty.

The slightly sweet bread is a great pairing for the pork shoulder that I cooked sous vide for 36 hours.

I used this recipe: https://youtu.be/Tkx4lNpX3N4

19
submitted 2 years ago by to c/bread@lemmy.ca


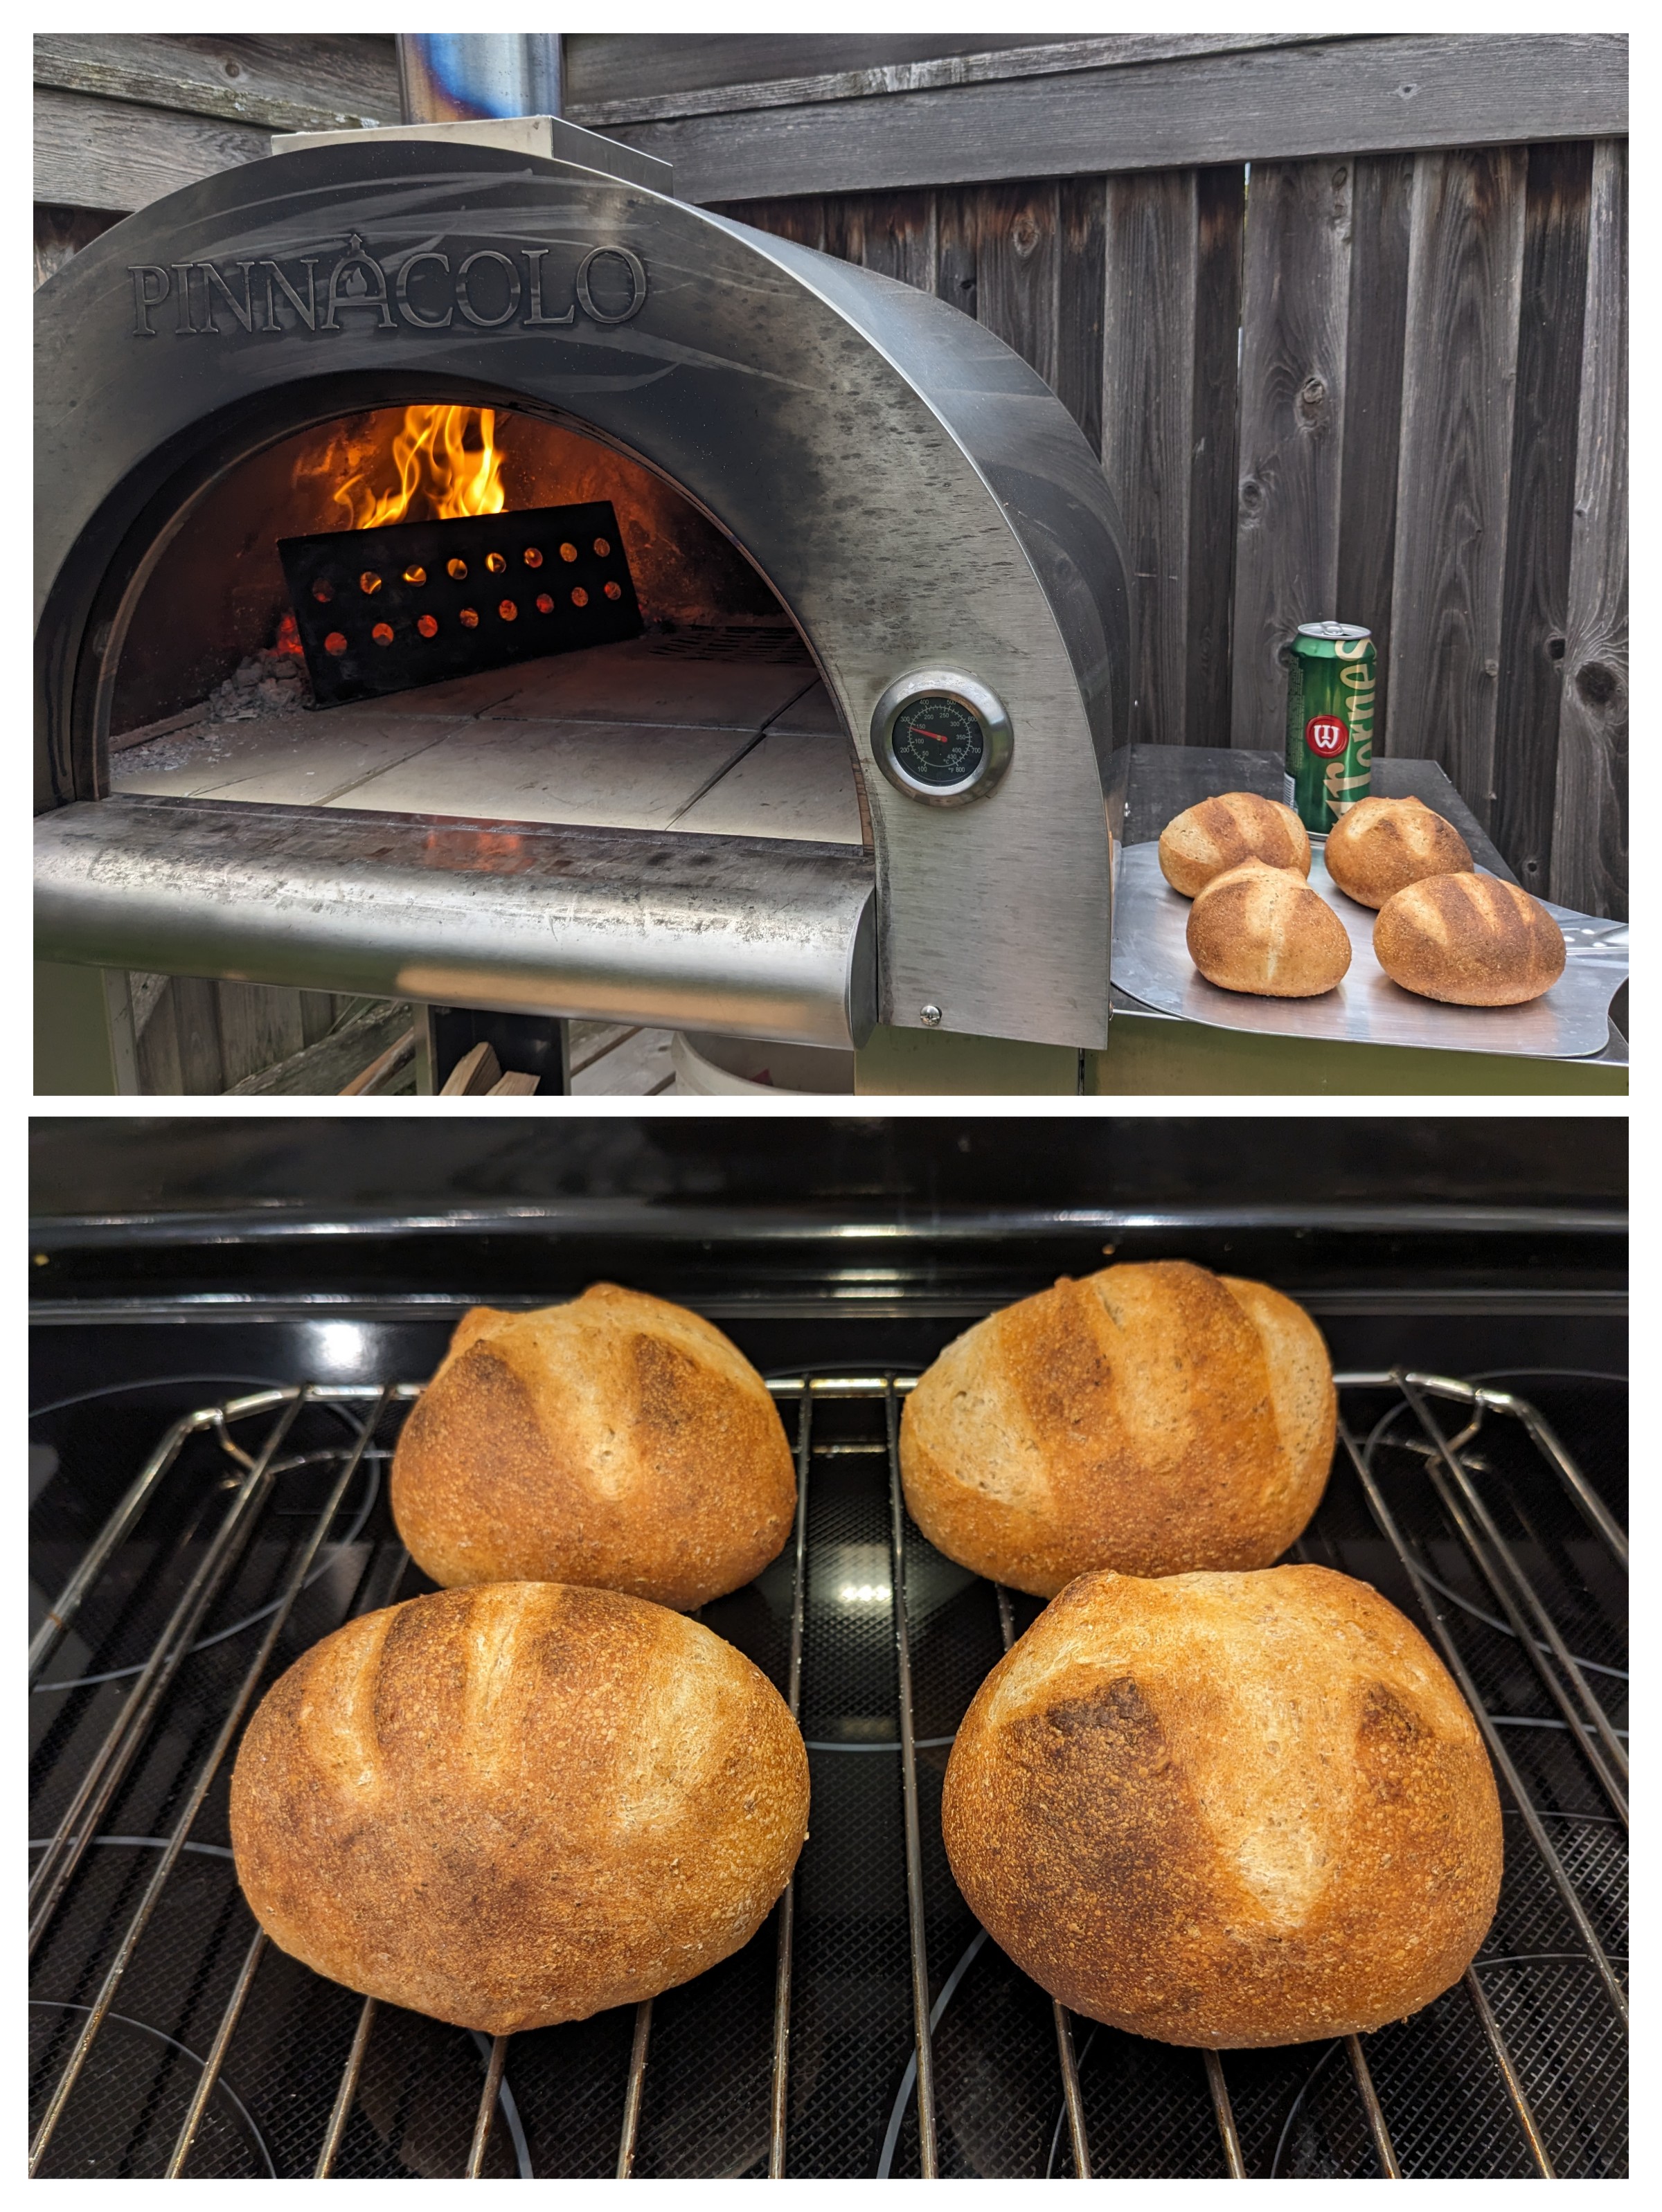
It took me a whole summer but I'm finally getting consistent results from the pizza oven.

20
submitted 3 years ago by to c/bread@lemmy.ca


I'm really sorry that haven't been posting, but I have been continuing to take pics for y'all.

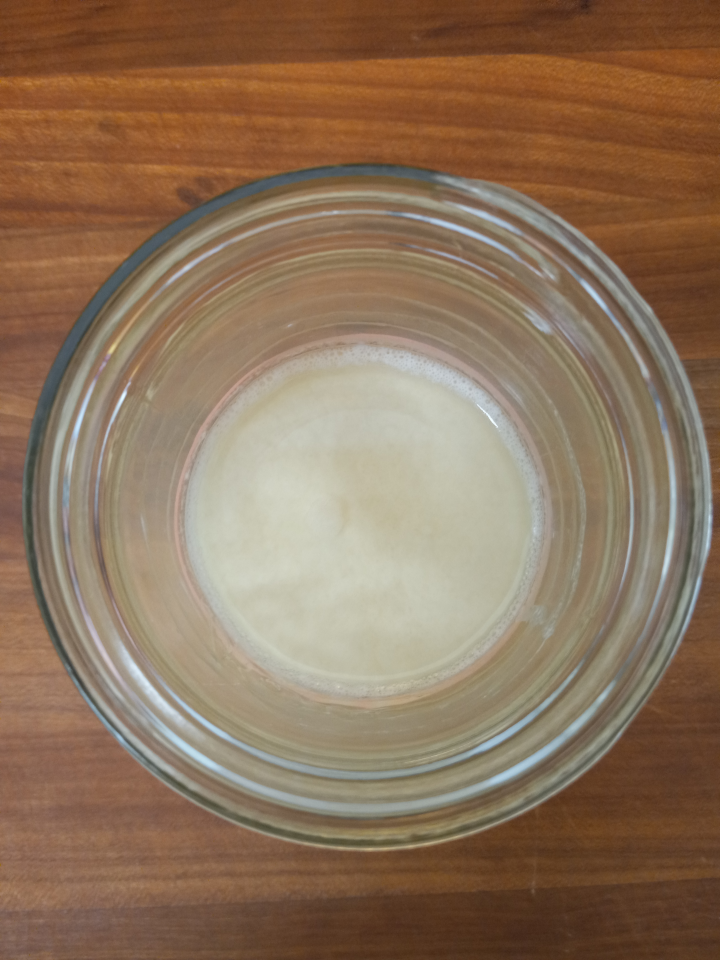
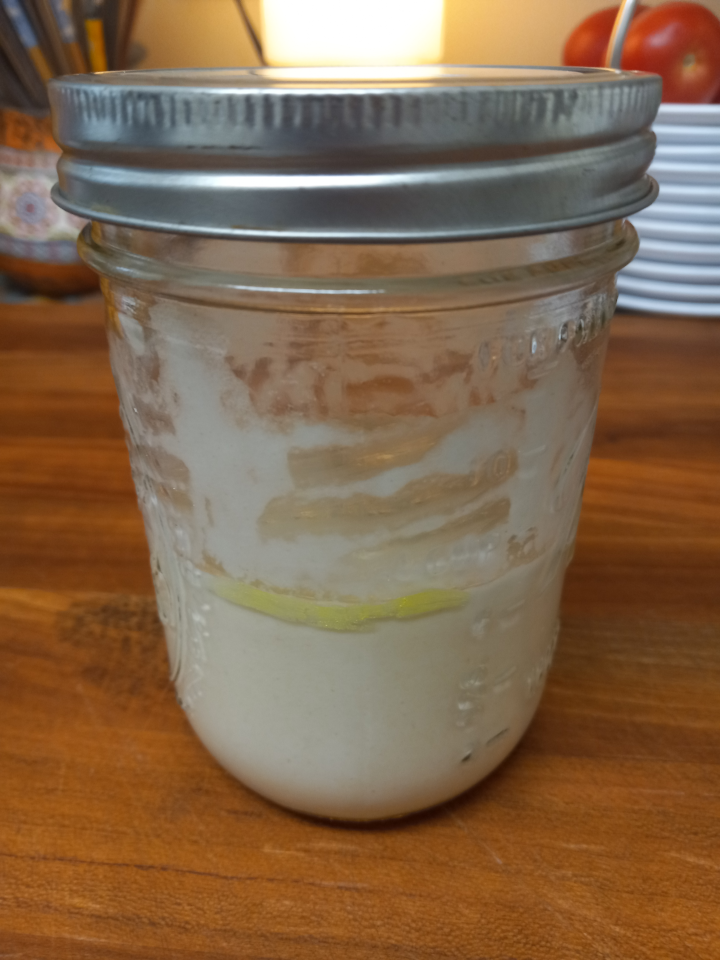
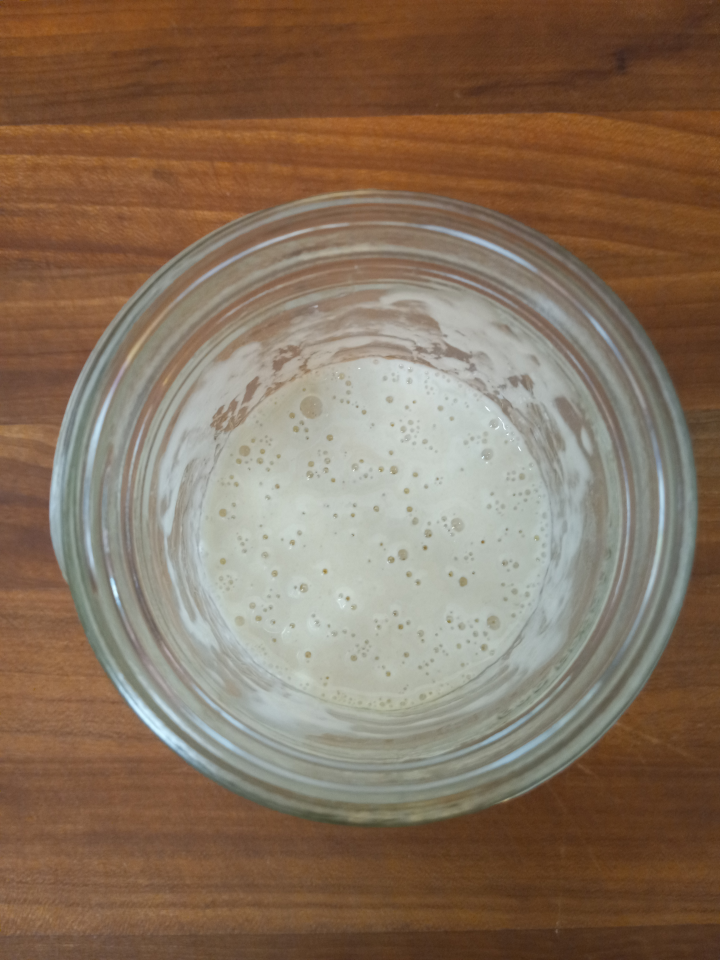
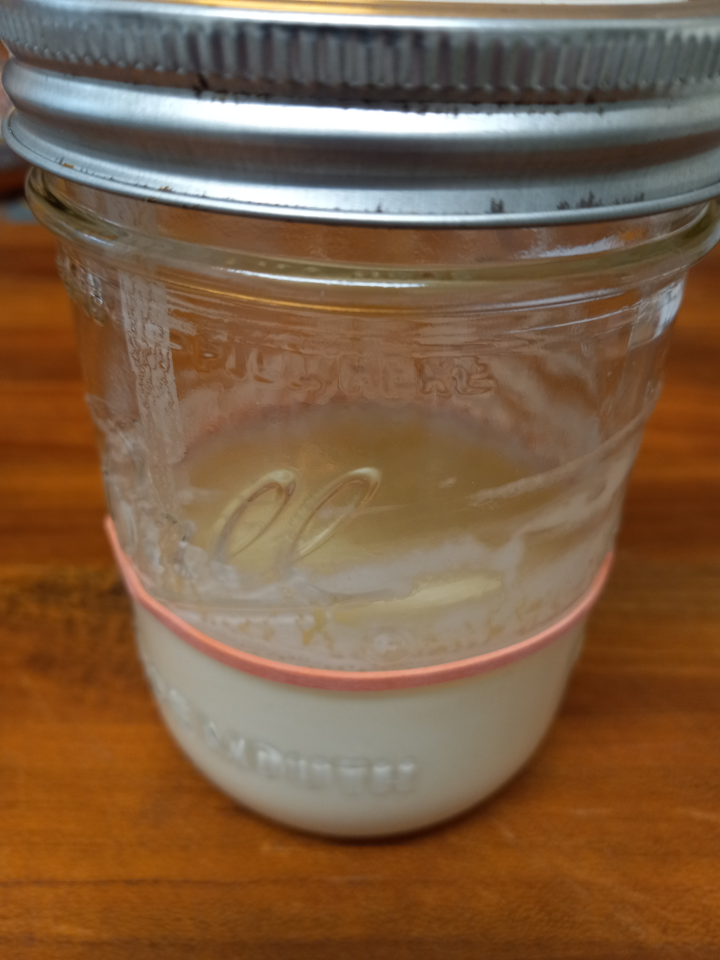
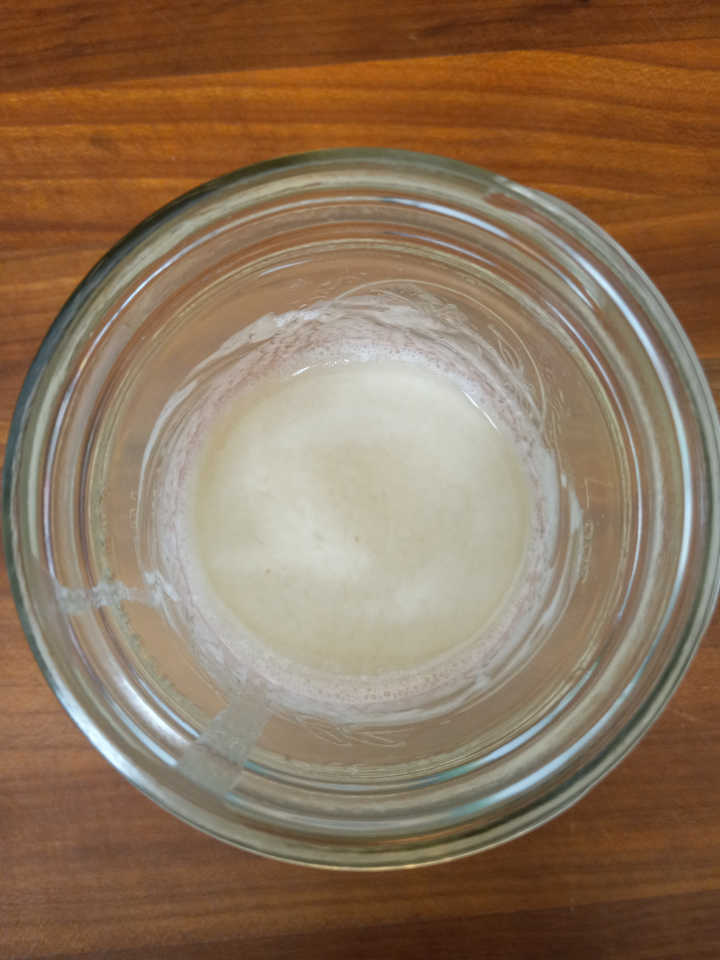
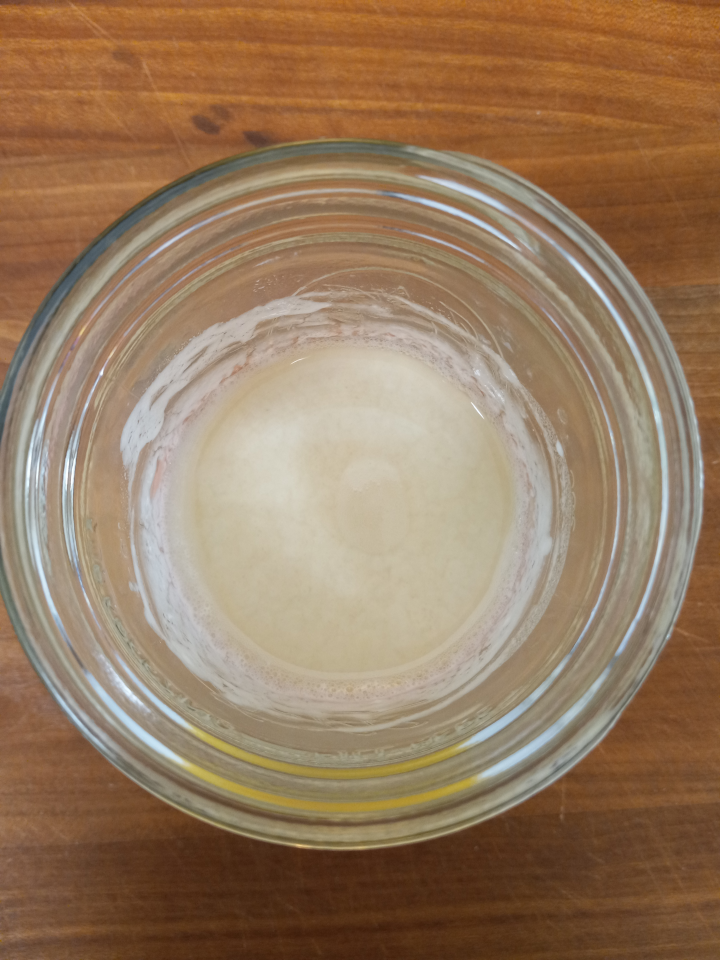
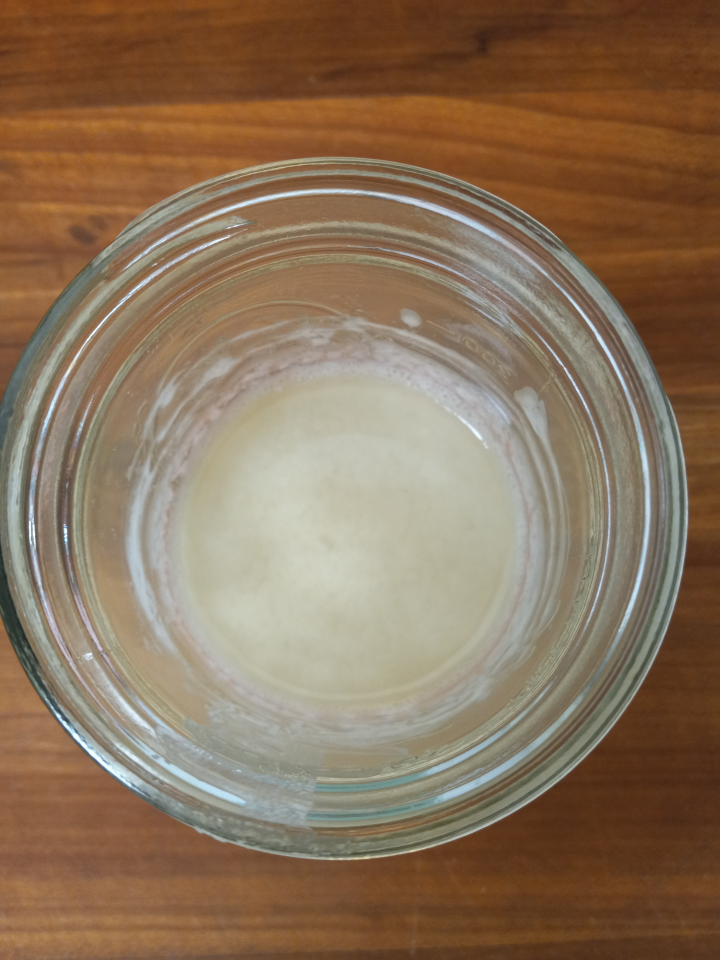
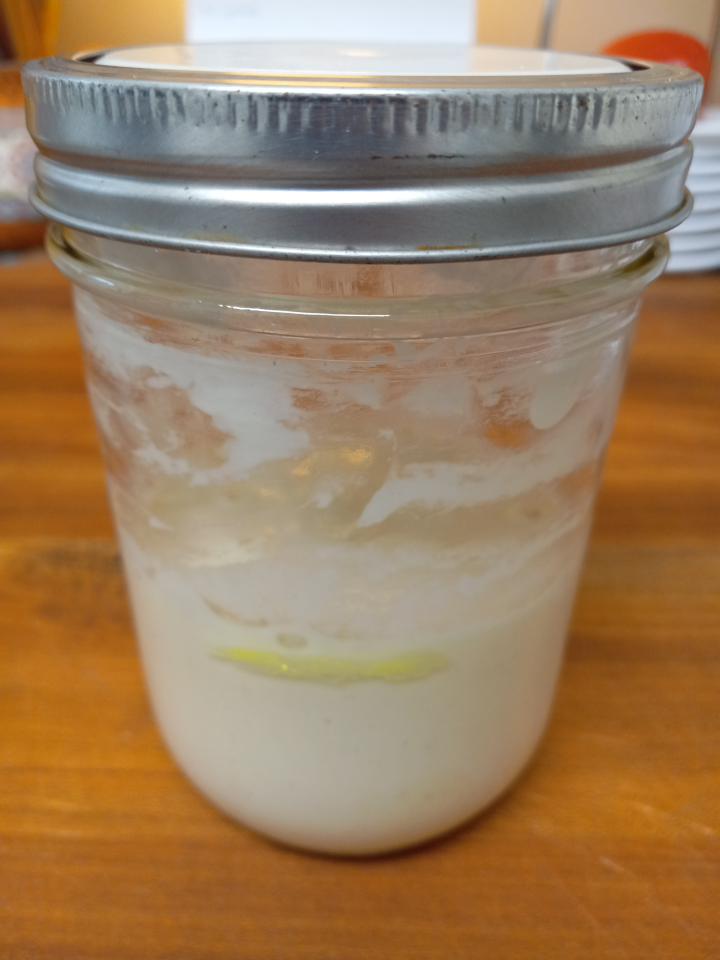
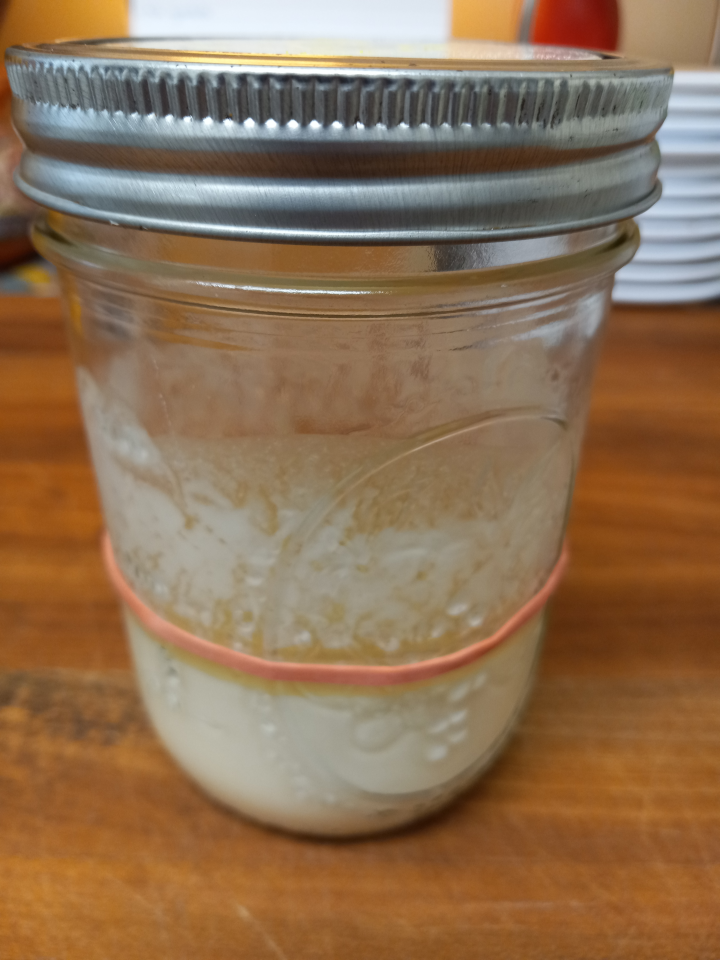
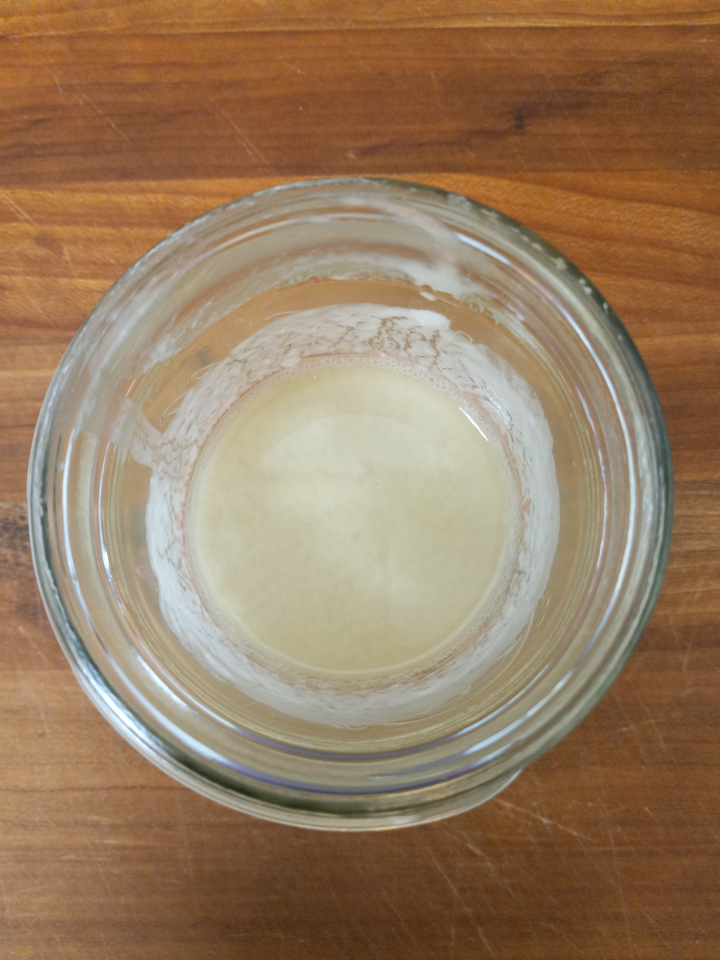
So, I split the liquid starter into 2 starters on Day 3, and I've been tending both ever since. I was feeding them every 12 hours, but they were both starting to smell like raw flour, so I switched to 24 hours (it must not be as warm in my kitchen as I thought).

There really hasn't been much action overall.

The liquid starter is pretty much stable and has a nice sour smell. It produces a gas and hooch consistently, but it isn't particularly active. The regular starter has taken until day 9 to develop a sour smell, and it produces a few bubbles everyday, but it's not increasing in volume yet. I think we just haven't captured a vigorous yeast.

Now time for the pics!

Pics

Day 3

Day 4 AM

Liquid Starter

Regular Starter

Day 4 PM

Liquid Starter

Regular Starter

Day 5

Liquid Starter

Regular Starter

Day 6

Liquid Starter

Regular Starter

Day 7

Liquid Starter

Regular Starter

Day 8

I forgot to feed them on day 8 🙁. This mistake might have set me back a day or 2, because we were seeing improvement in gas production in the regular starter. You can see the pics from this morning below aren't as good as 2 days ago.

You can also see that the liquid starter just keeps on producing hooch. Looking back at the regular starter from day 4, I bet we can get a light rise from the liquid starter if we made a bread with it. I might try that out tomorrow.

We're not molding, though, so we can just keep feeding, watching, and smelling.

Day 9

Liquid Starter

Regular Starter

21
submitted 3 years ago by to c/bread@lemmy.ca


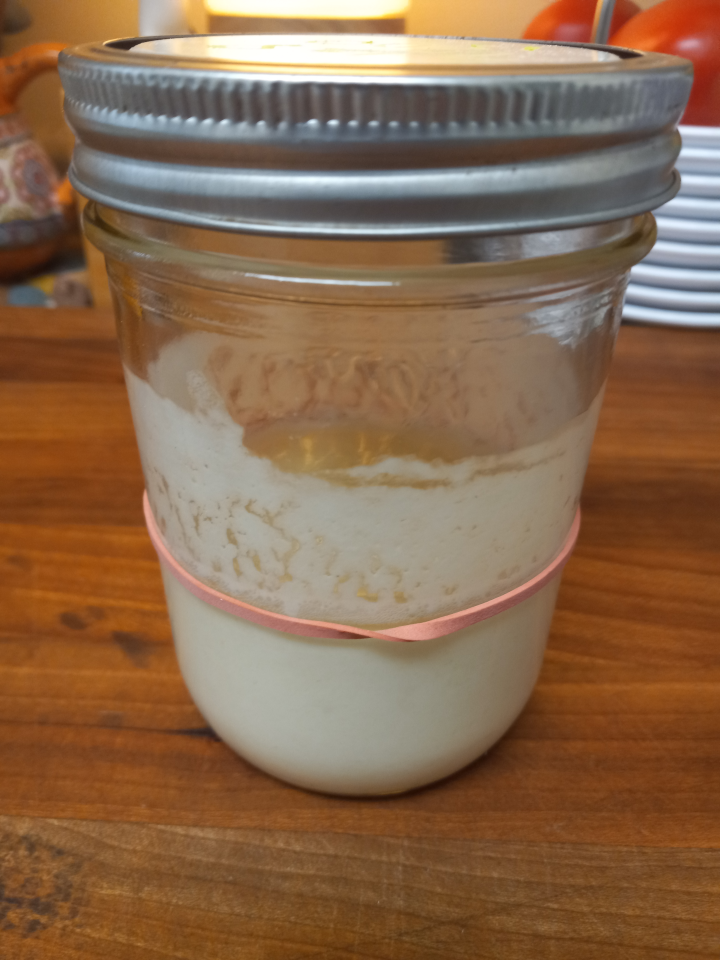
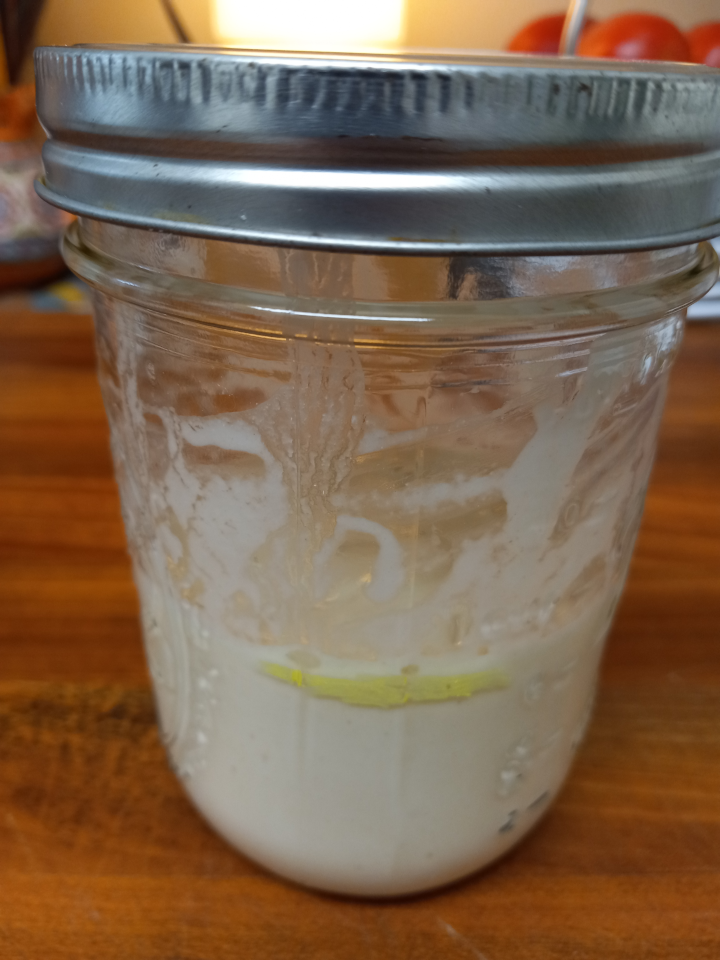
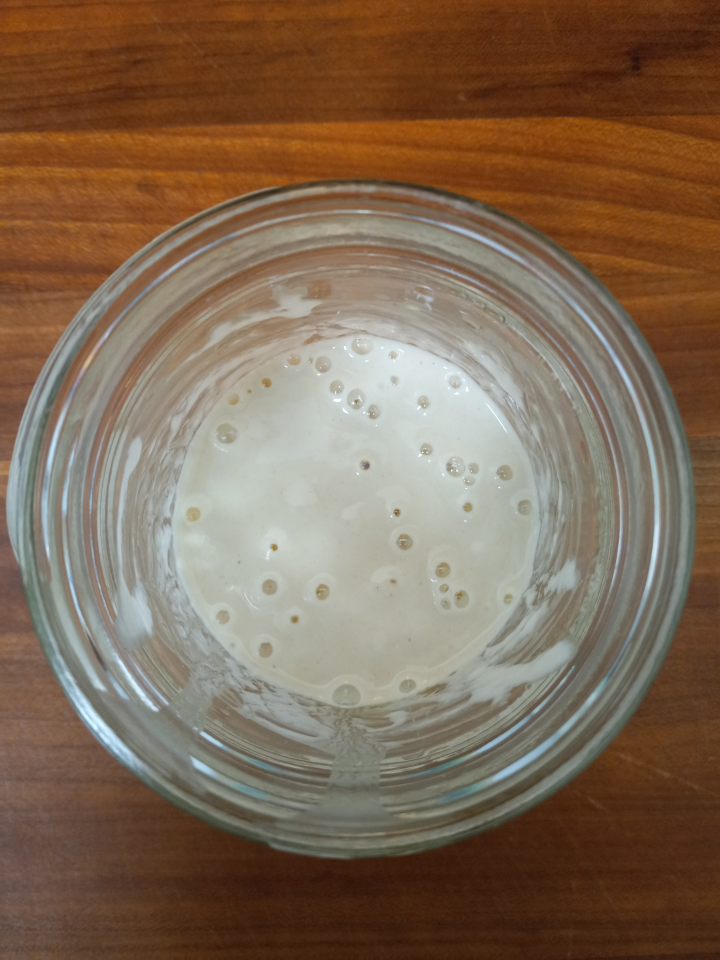
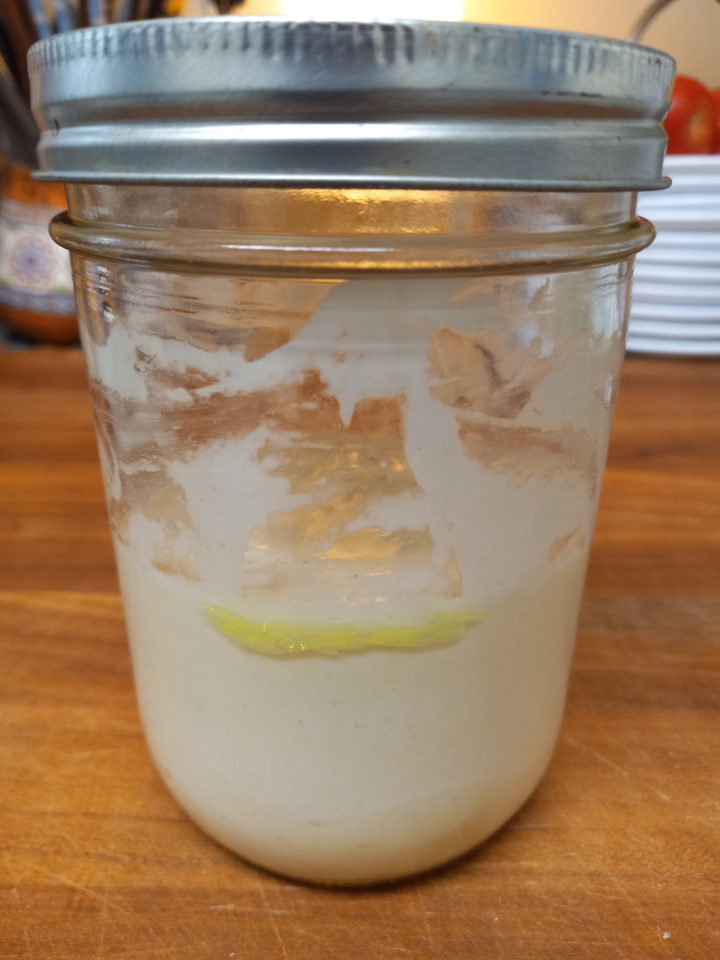
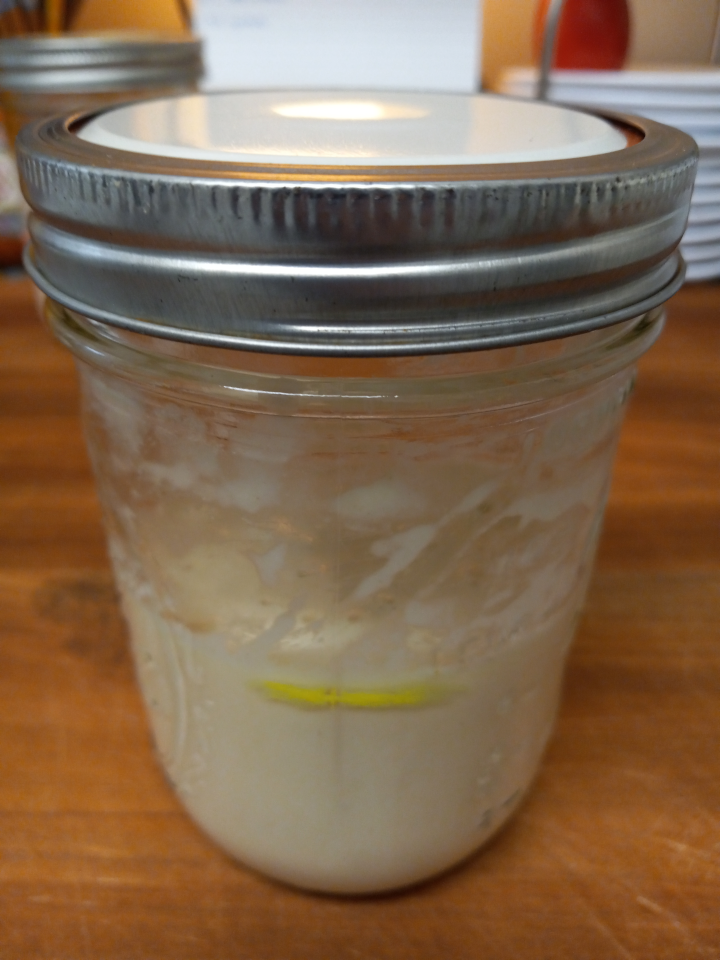
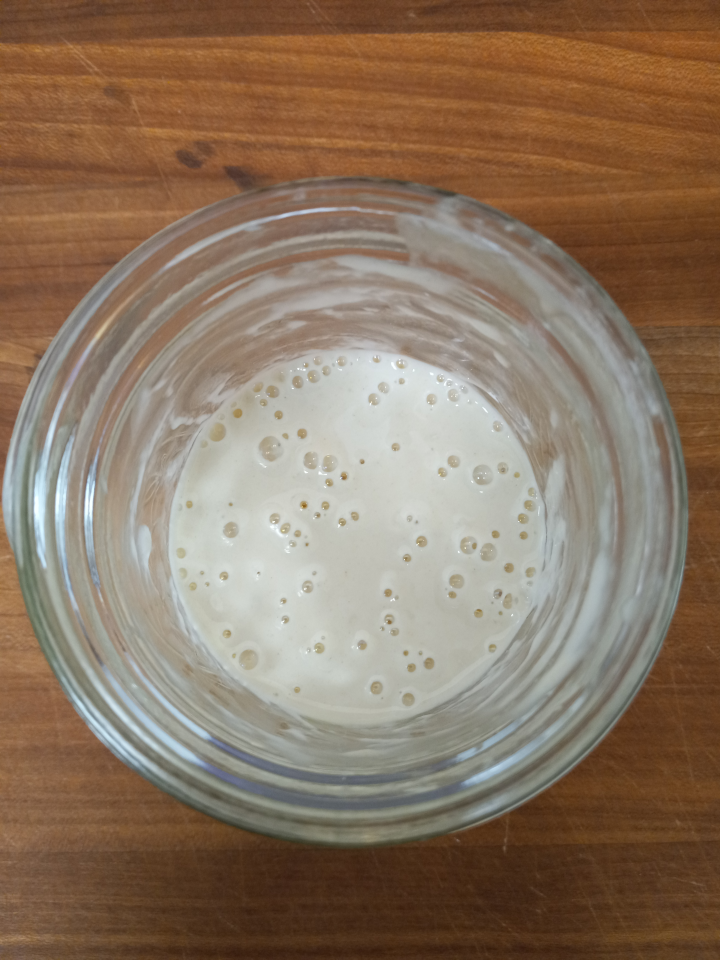
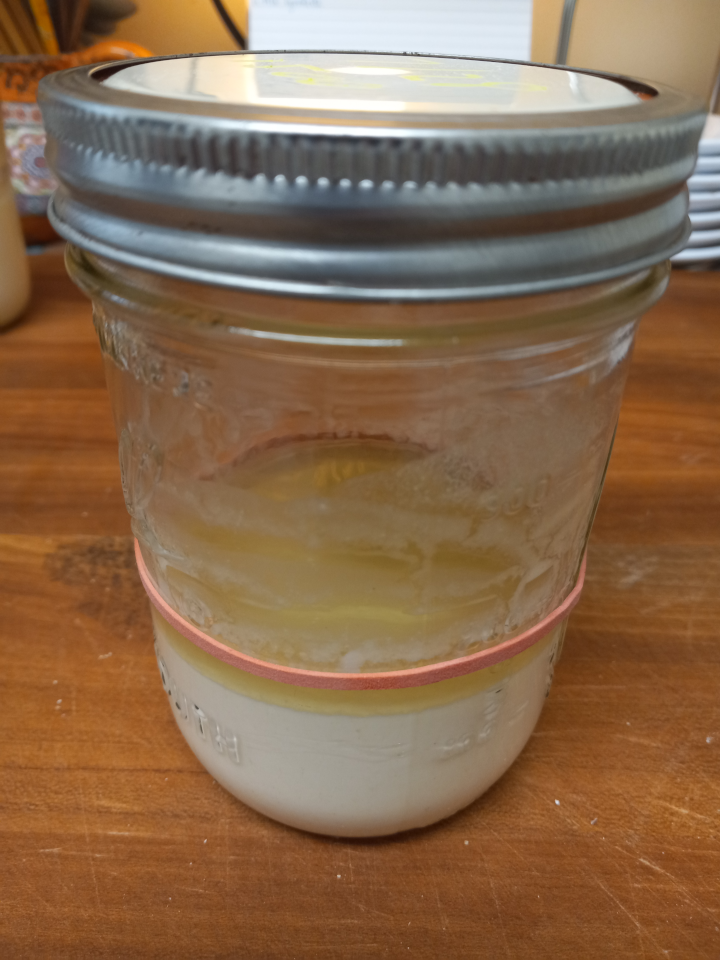
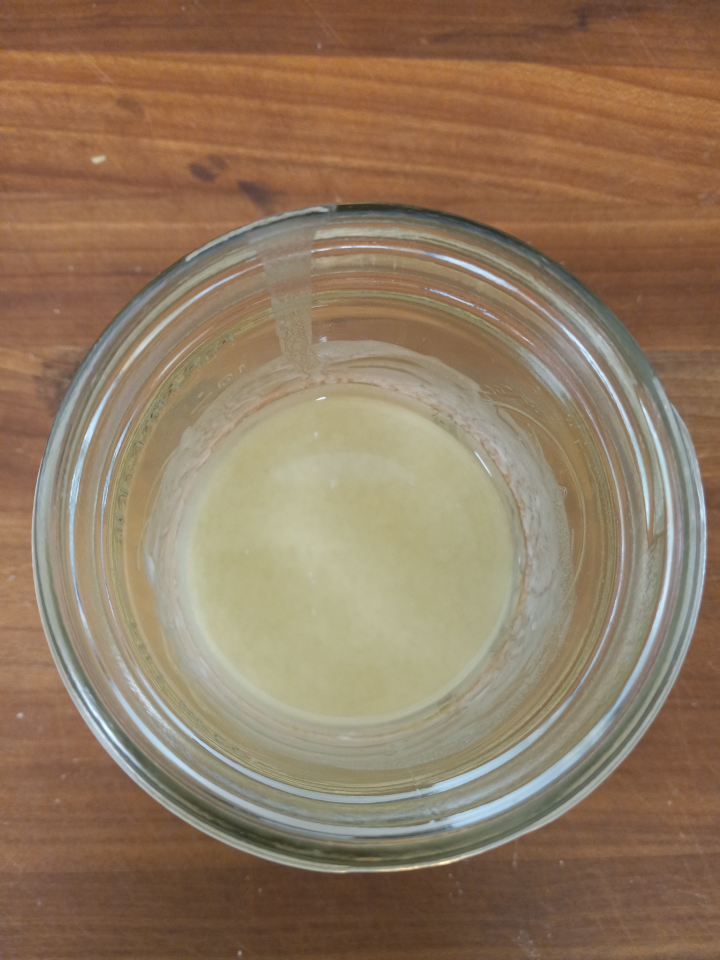
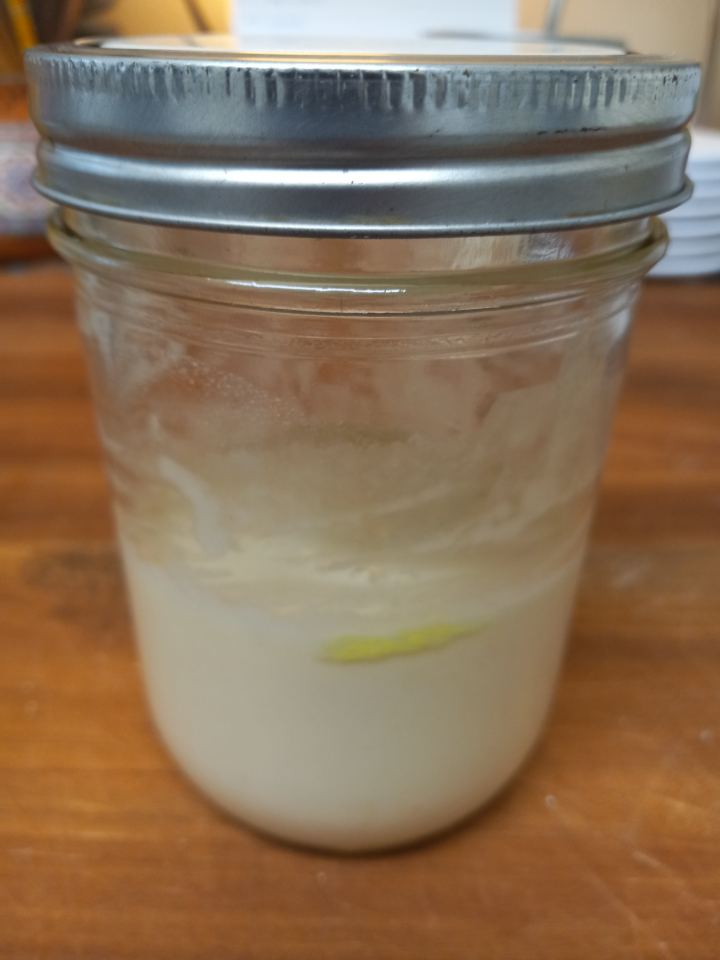
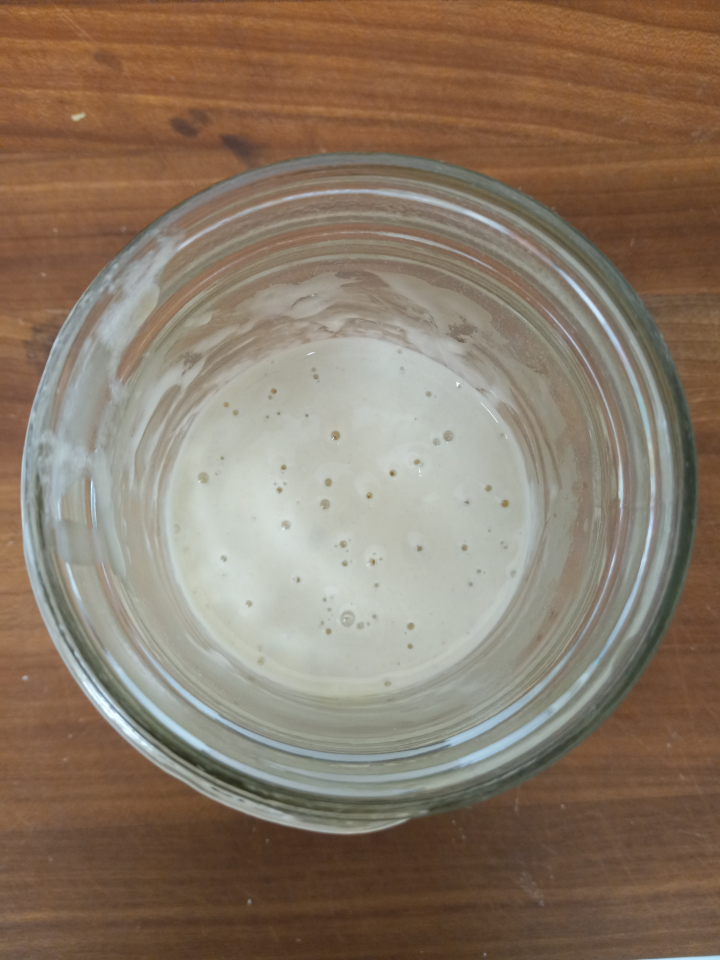
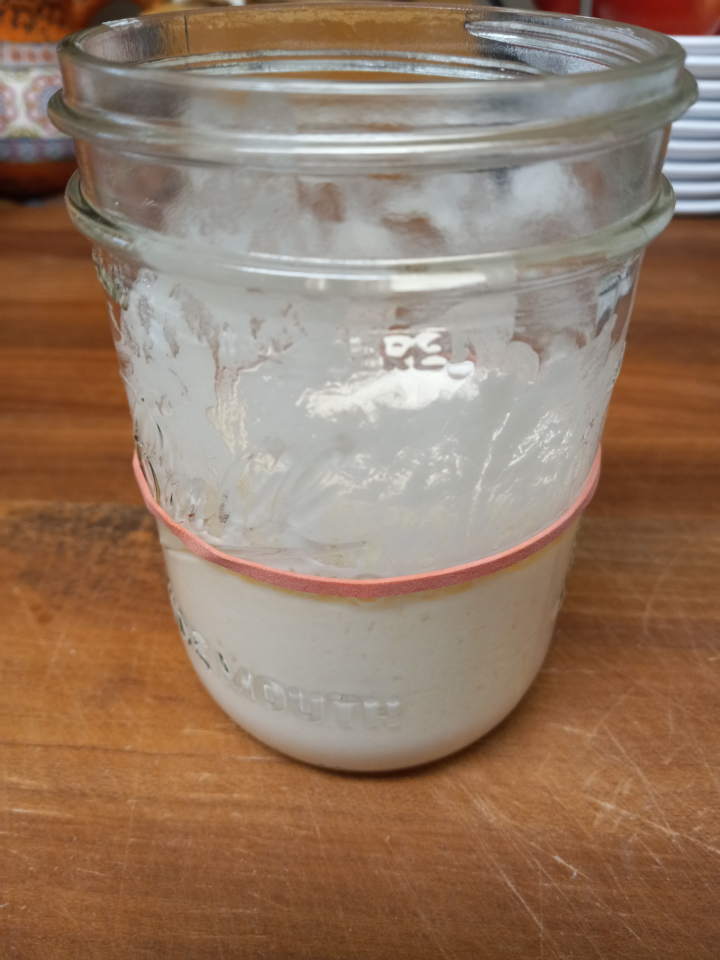
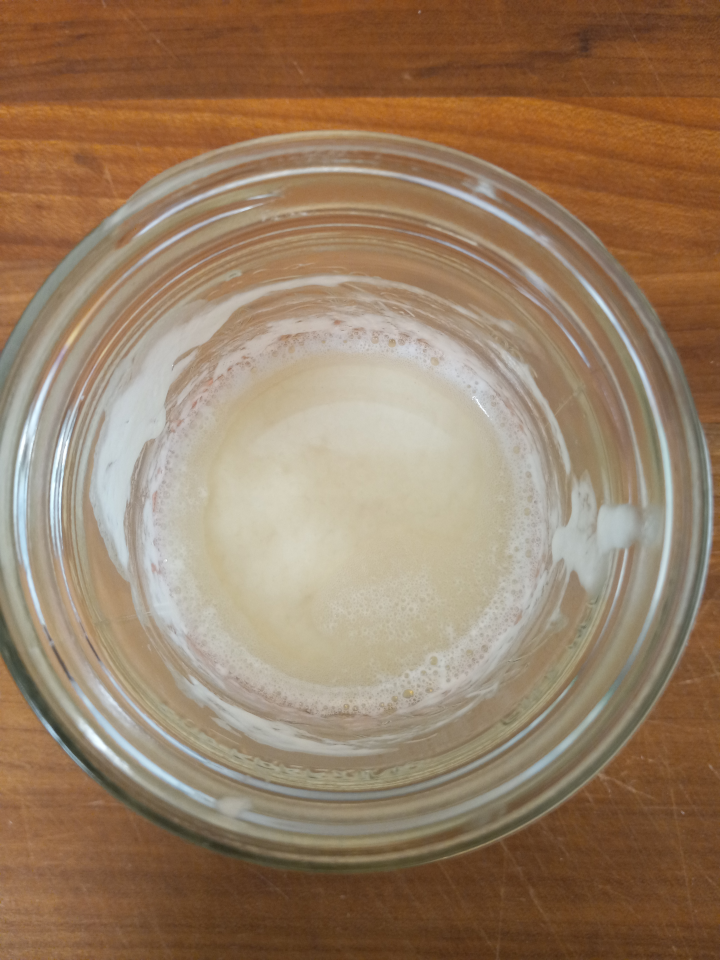
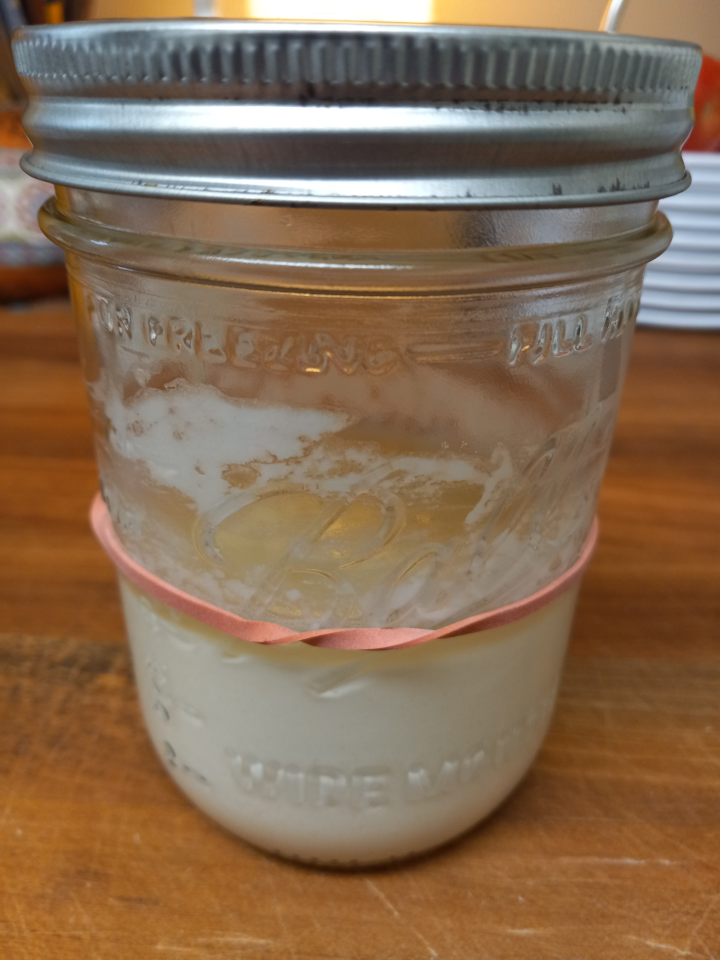
A much less exciting day yesterday. As you can see from the above pic from the morning, we're getting some good gas production, but it's gotten quite thin, so it might not be able to trap the gas and actually rise. I can't tell from the side pic if it rose and fell overnight or not.

Much less impressive activity when I went to feed it last night, but you can see from the foam that we're still bubbling away. I think we're getting some serious alcohol production, which is contributing to the thinness. I've heard some people pour off the hooch, but I've never done it.

Instead of using half the previous starter when feeding, I'll be going with 1:1:1 by volume to try to thicken it up, but I'm considering switching to 1:1:1 by weight as per one of my books, King Arthur, and probably our benevolent mod @Noved@lemmy.ca.

22
submitted 3 years ago by to c/bread@lemmy.ca


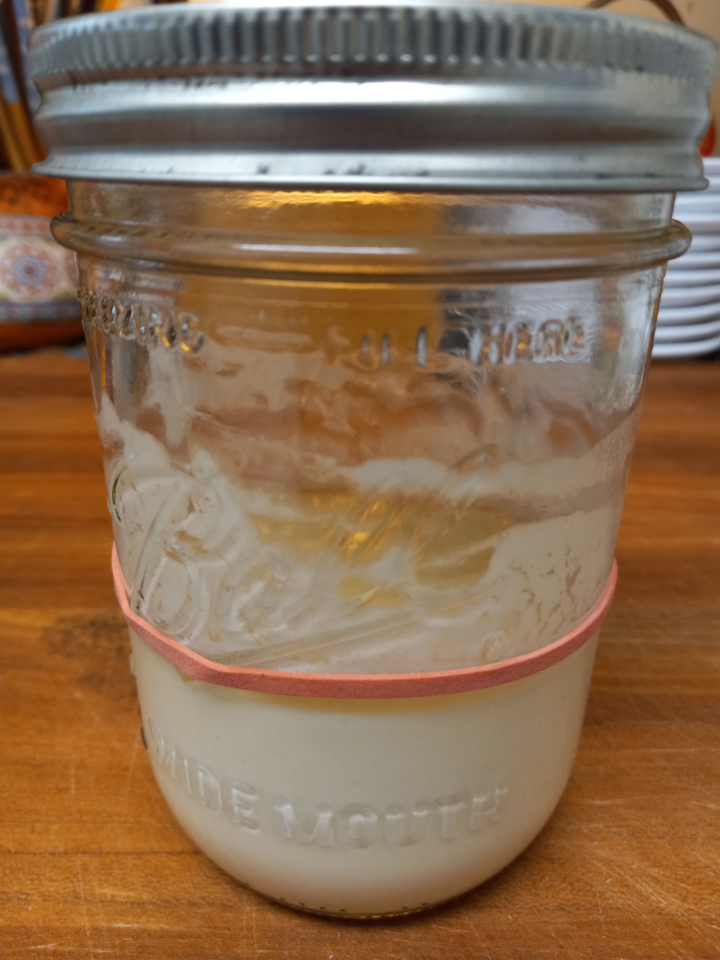
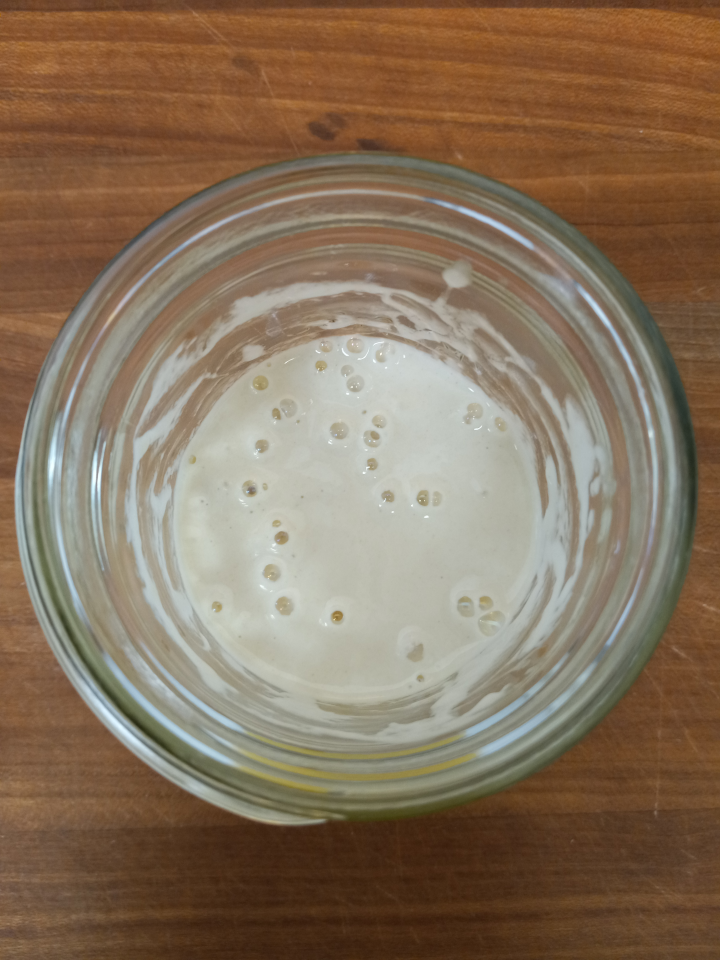
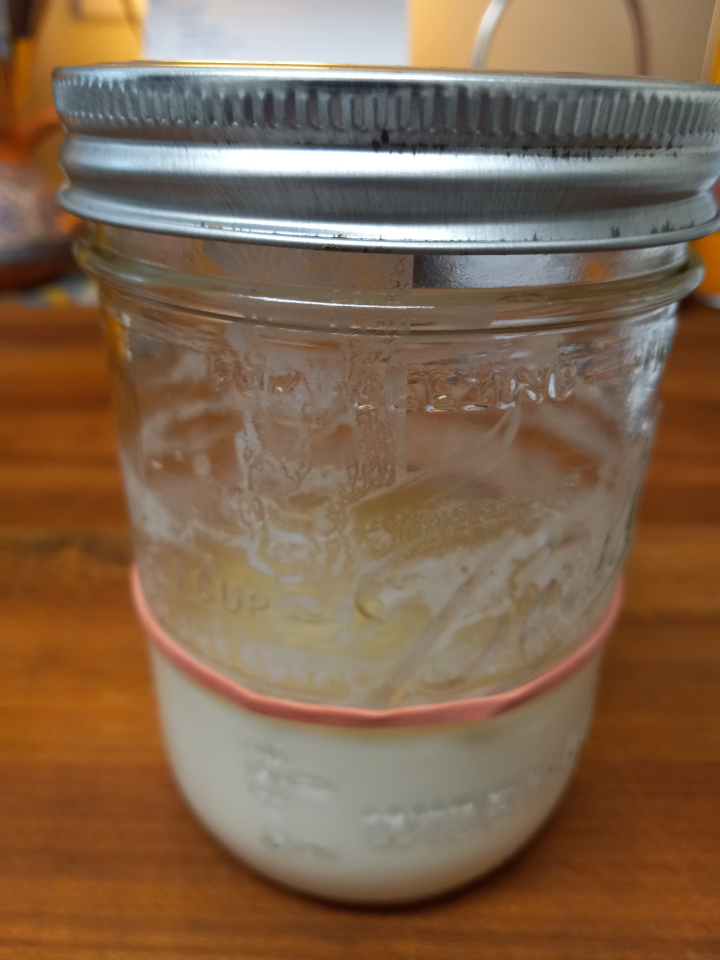
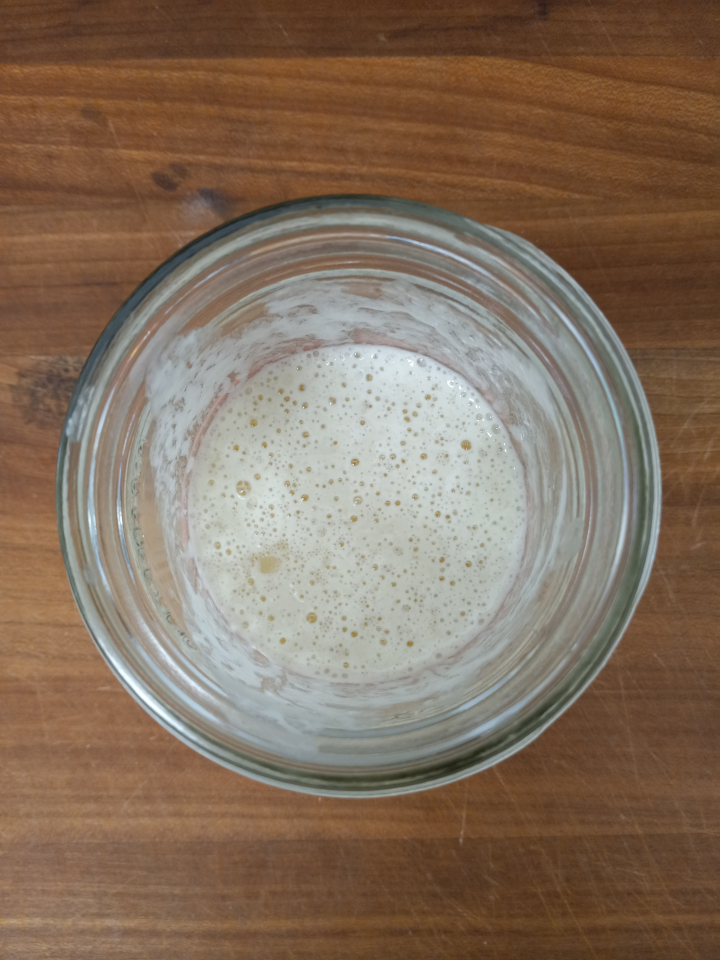
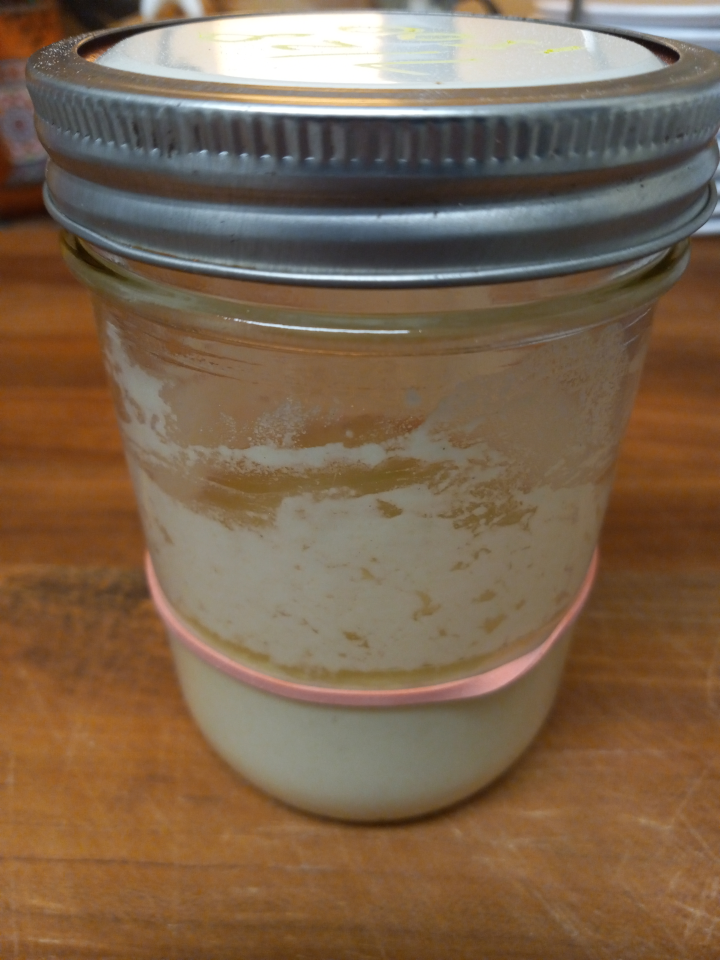
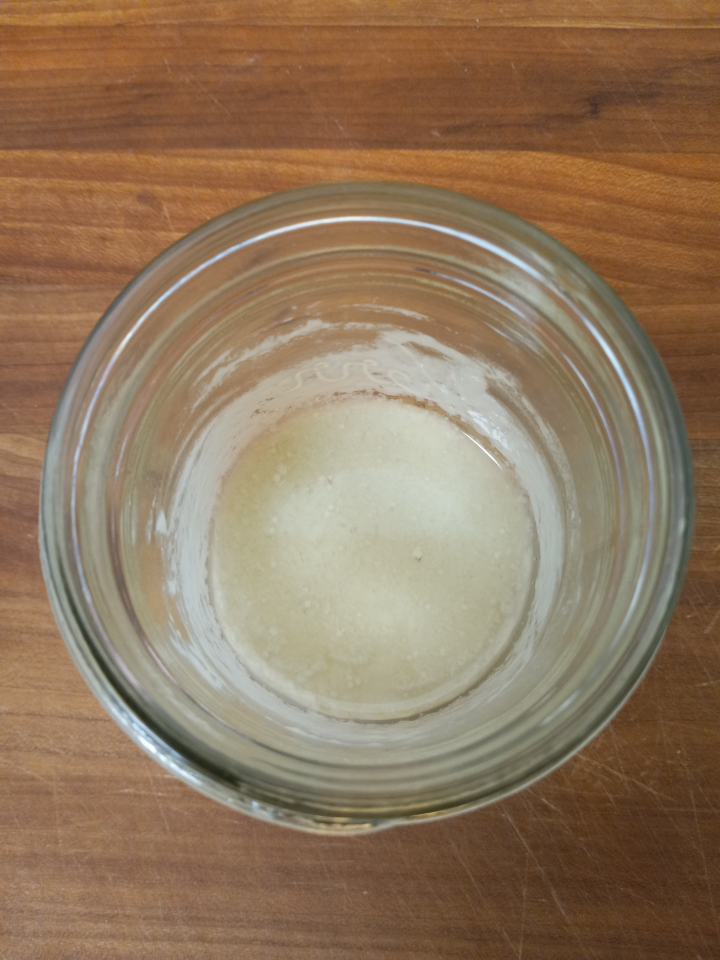
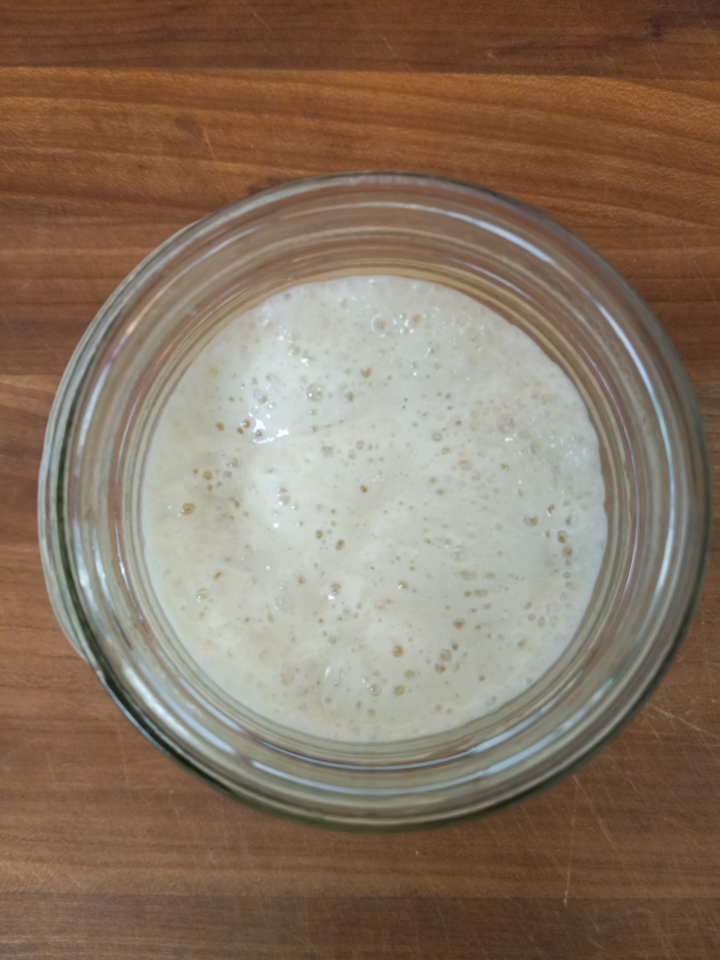
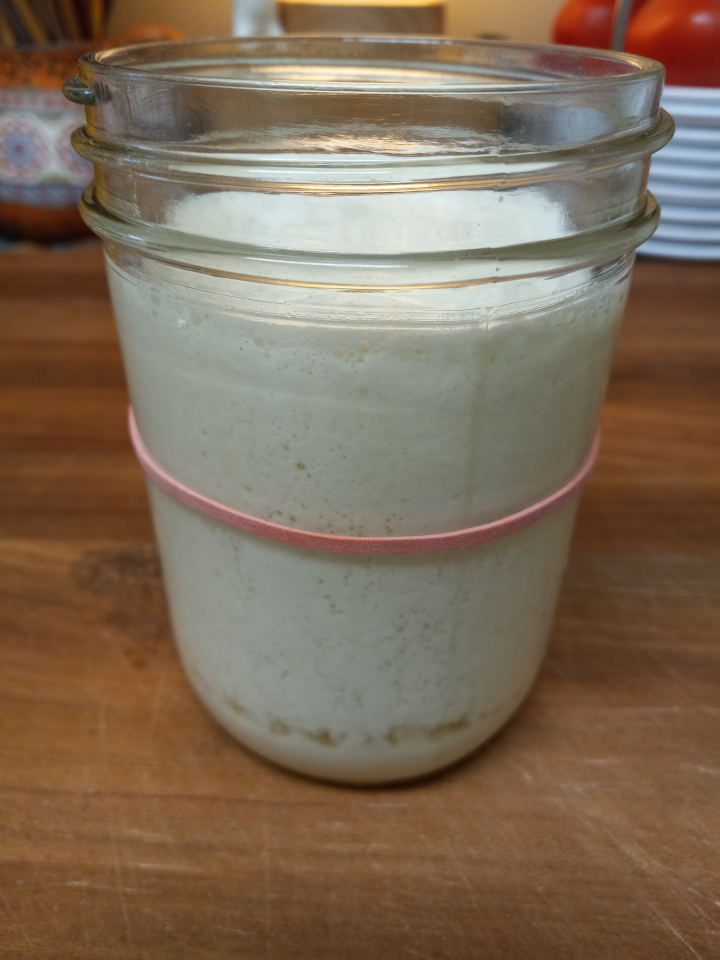
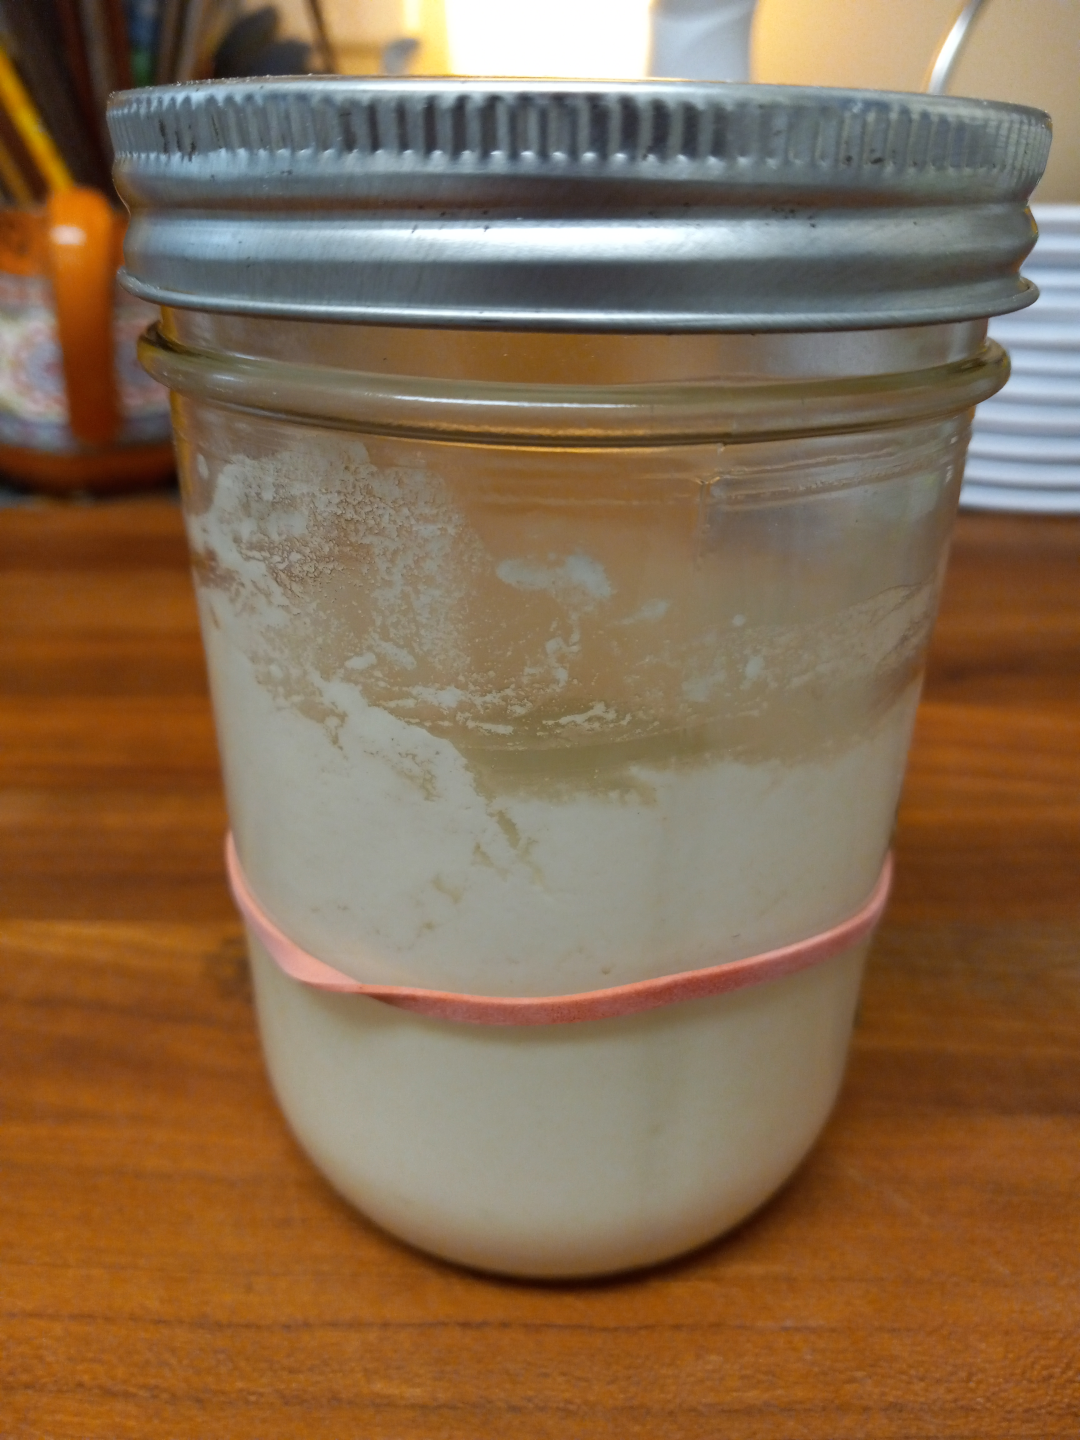
Well, this was unexpected. The picture above is just over 33 hours after my previous post. It's a little early for me to trust it, since this is after the first feeding. I'll keep feeding it until it gives a consistent rise, but this is a great sign! It's smelling deliciously sour.

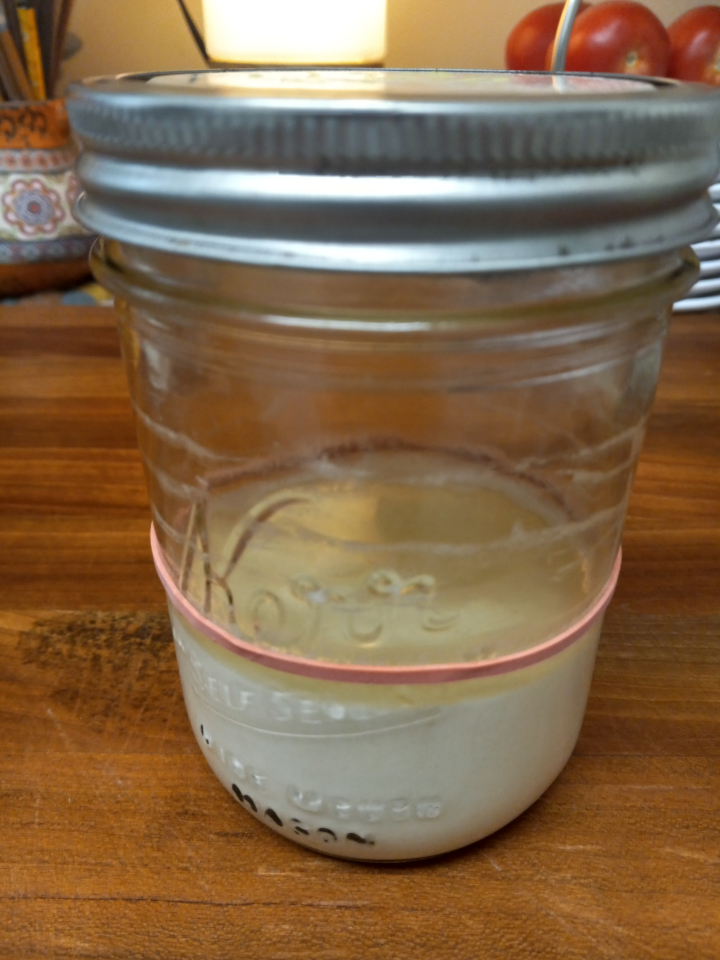
Here's what it looked like before the feeding (the morning after my post, T+17hrs):

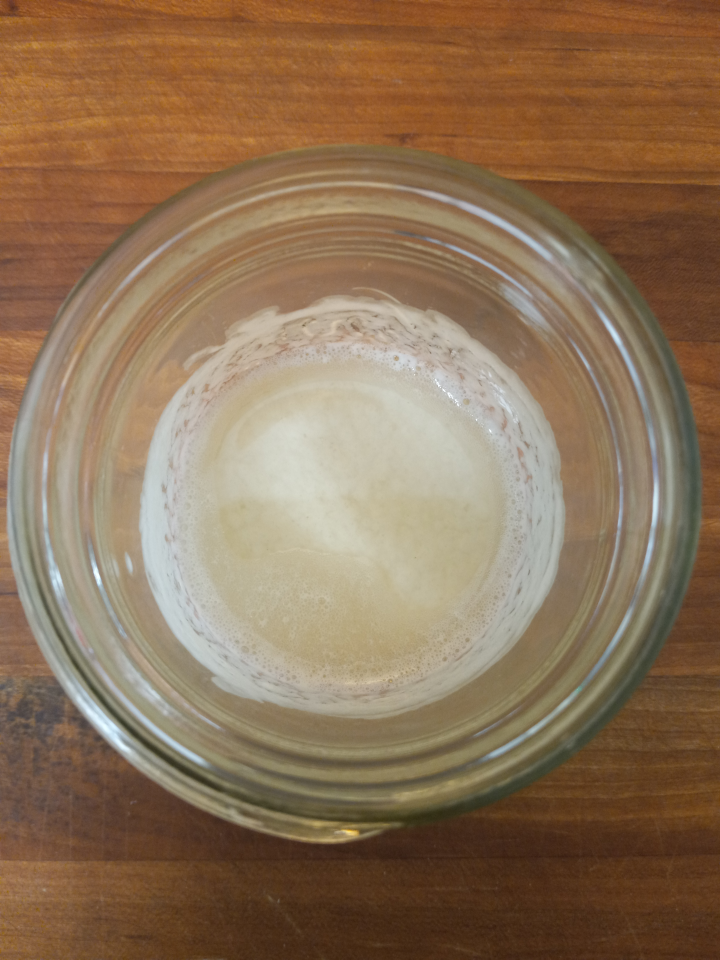
And then here's the top-down shot about 16 hours later:

Nearly a full doubling, vigorous gas production. Just incredible.

Maybe it's a mistake, but I'll keep feeding it and posting the results.

23
submitted 3 years ago by to c/bread@lemmy.ca


Here I go again!

I'm creating a new sourdough starter from scratch, and I thought I should share the process. By "from scratch," I mean with just flour and water. I've seen recipes use active dry yeast, apples, grapes, or even 2 day old food, but your flour already has the yeast and bacteria you need. You just need to give them a hand! And be patient, as is the way of a good baker.

Recipe

pbv: part by volume

  • 1 pbv flour (e.g. 1/2 c or 2.5 oz)
  • 1 pbv water (e.g. 1/2 c or 4 oz)
  1. Thoroughly mix ingredients in a container and cover while still allowing air exchange (use a thin towel, paper towel, or an upside-down lid screwed on loosely).
  2. Let sit at room temperature for 12-24 hours.
  3. Mix up a new batch, stir old batch, add half the old to the new, and mix thoroughly.
  4. Repeat until starter doubles in volume between feedings.
  5. Refrigerate starter and feed weekly.
Comments
  • Keep smelling the starter and keep a good eye on it. When done it should smell appetizingly sour.
  • Warmer kitchens need more frequent feedings.
  • This can take a week or two, and you can go through an entire bag of flour creating a new starter this way.
  • Use the flour you're going to be baking with. If you want to bake with both whole wheat and unbleached, use 1/2 pbv of each. Using whole wheat also adds more food for different bacteria to eat.
  • What we're doing here is cultivating all kinds of yeasts and bacteria that naturally occur on the flour and in your kitchen, and then we introduce them to a new environment full of food. Those yeasts and bacteria that eat the flour quickly should eventually win out, but that's not guaranteed.
  • If you see mold or it smells like rot, discard and start over. You might need to feed more often.

Other Pics

24
submitted 3 years ago* (last edited 3 years ago) by to c/bread@lemmy.ca


Feel I still have a ways to go due to the darker spots on top but overall I’m pretty happy with this result! Because of timing issues, the dough sat for 2 days before baking.

The recipe is from Serious Eats- No Knead Pizza Bianca (https://www.seriouseats.com/no-knead-pizza-bianca)

25


This is my first focaccia made from Claire Saffitz's book Dessert Person. Here's a video with the recipe for those interested.

view more: next ›